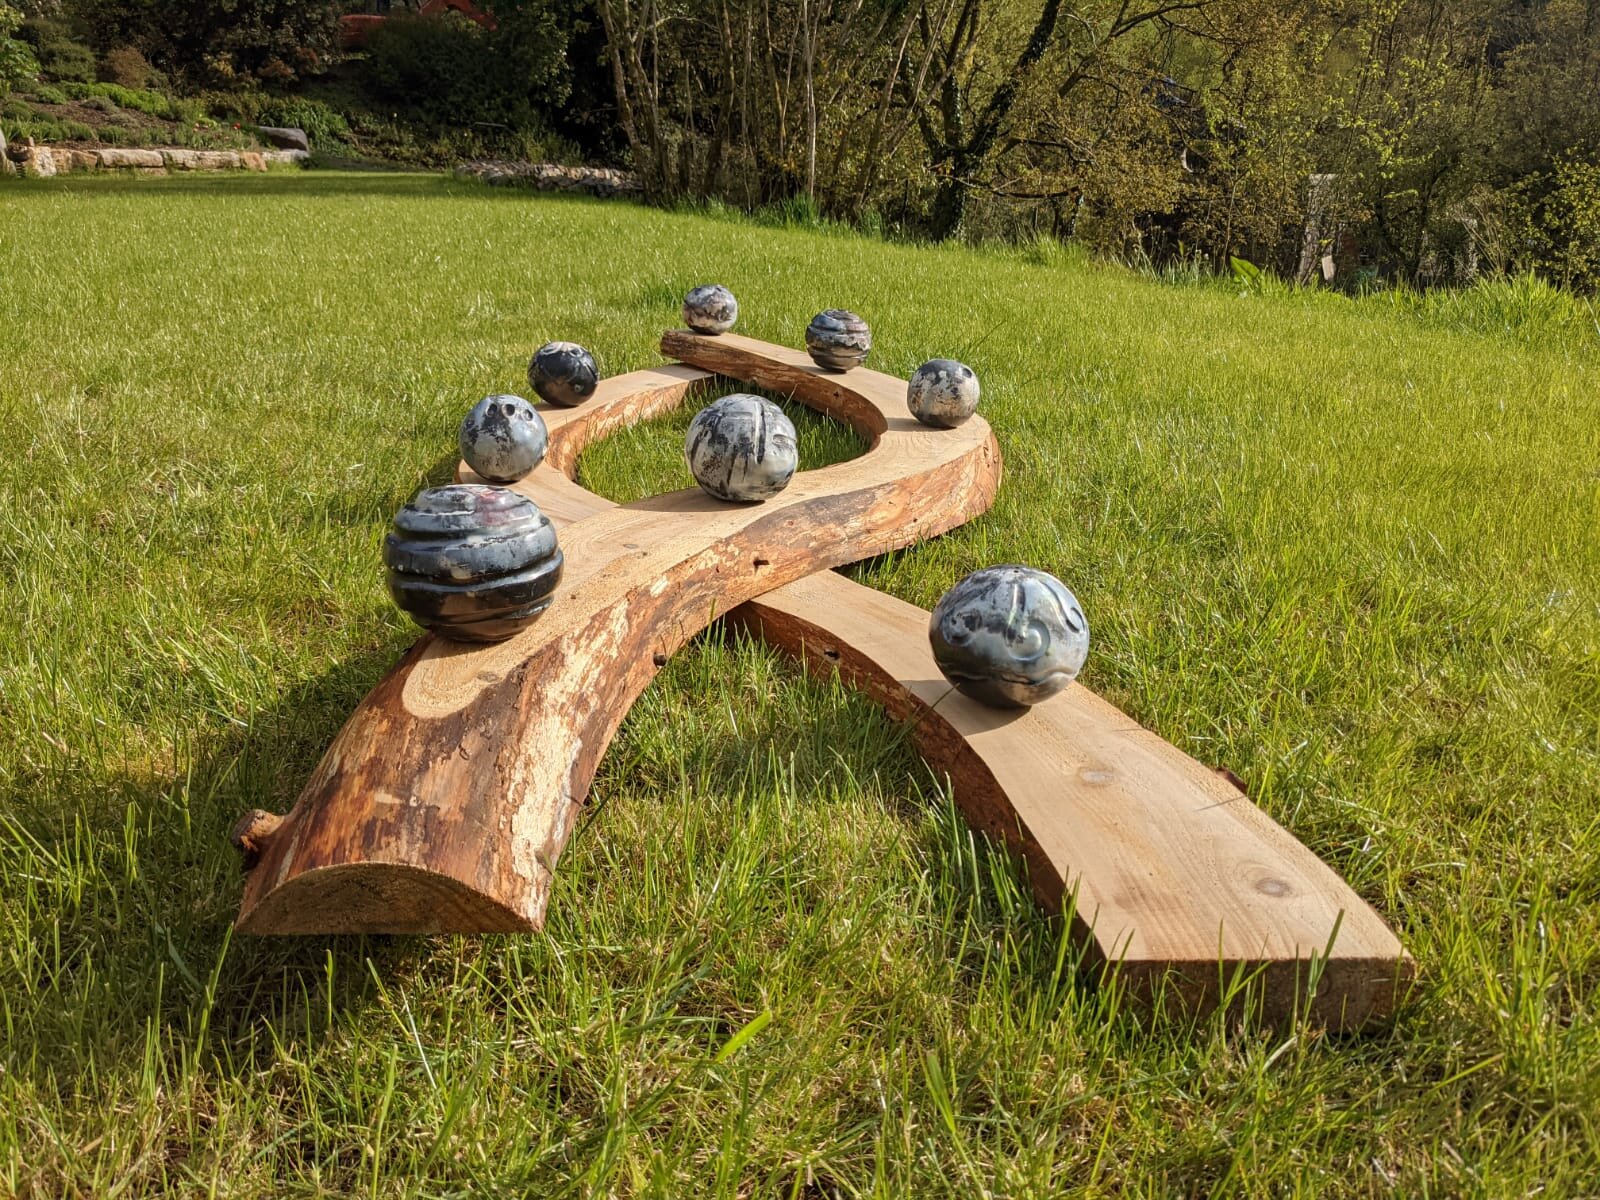
Byd Bach / Little World
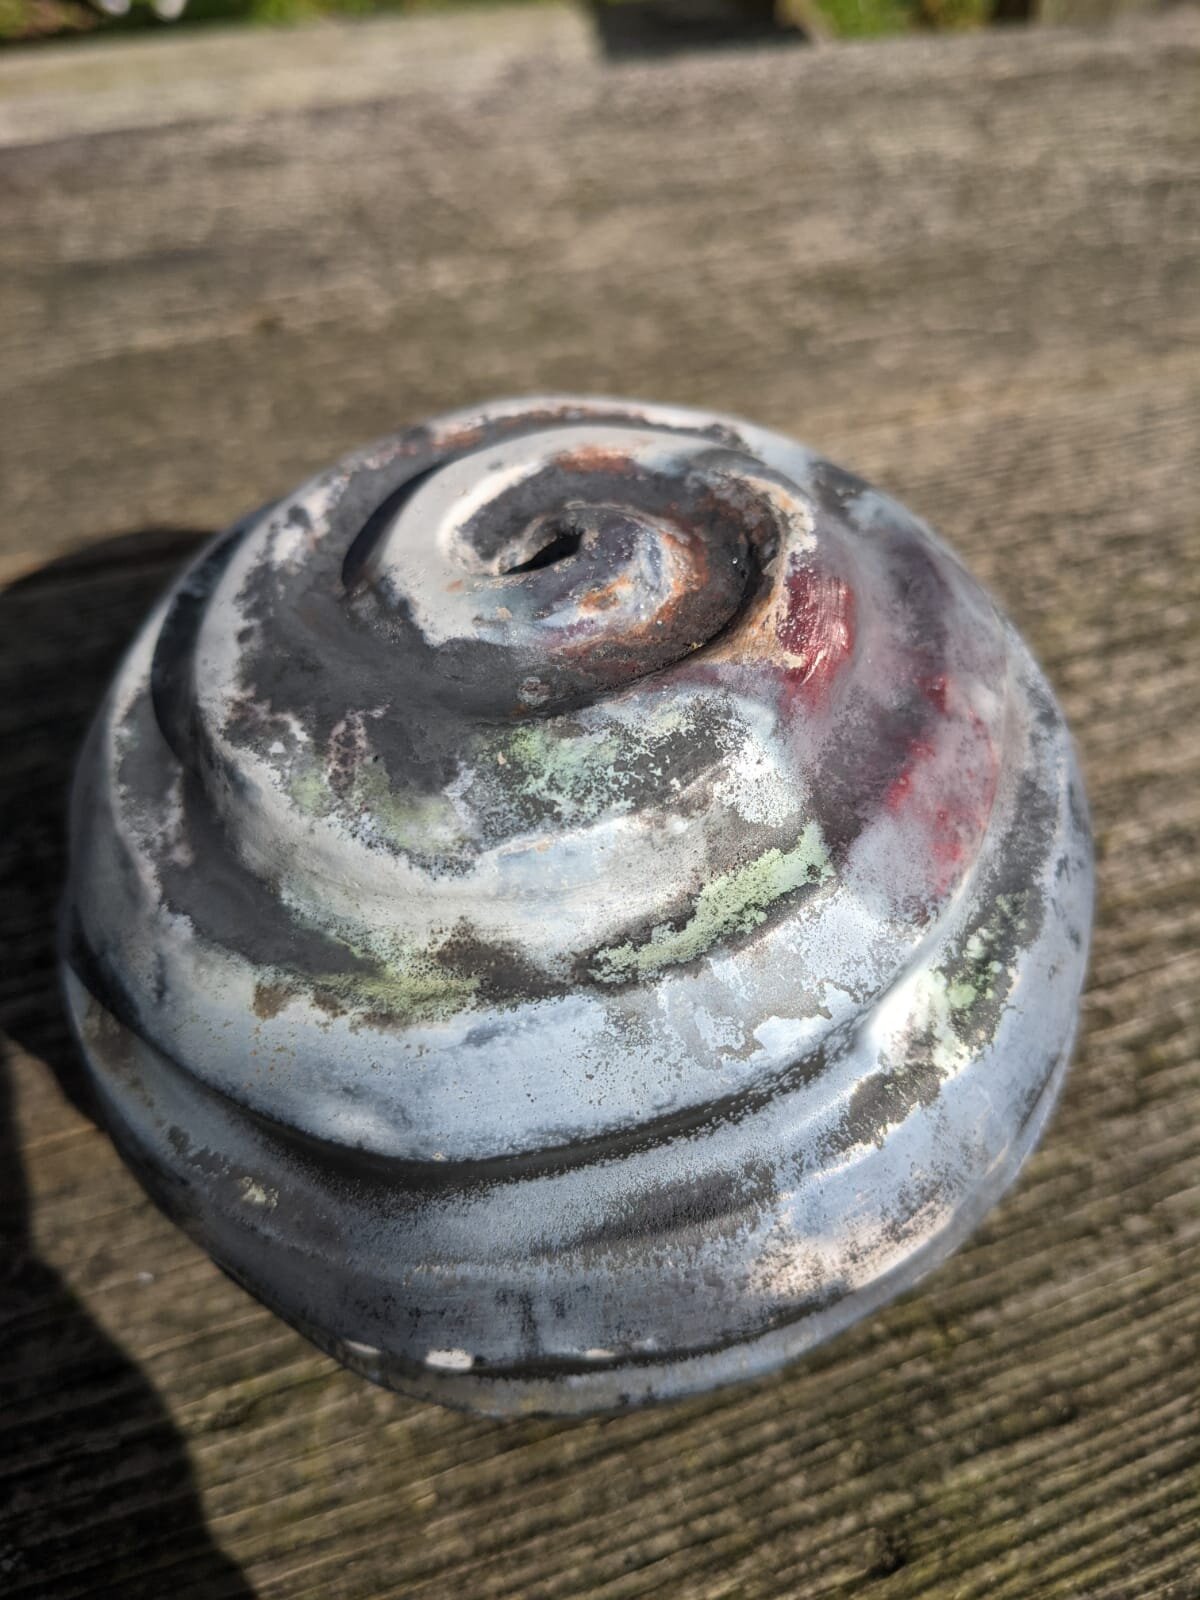
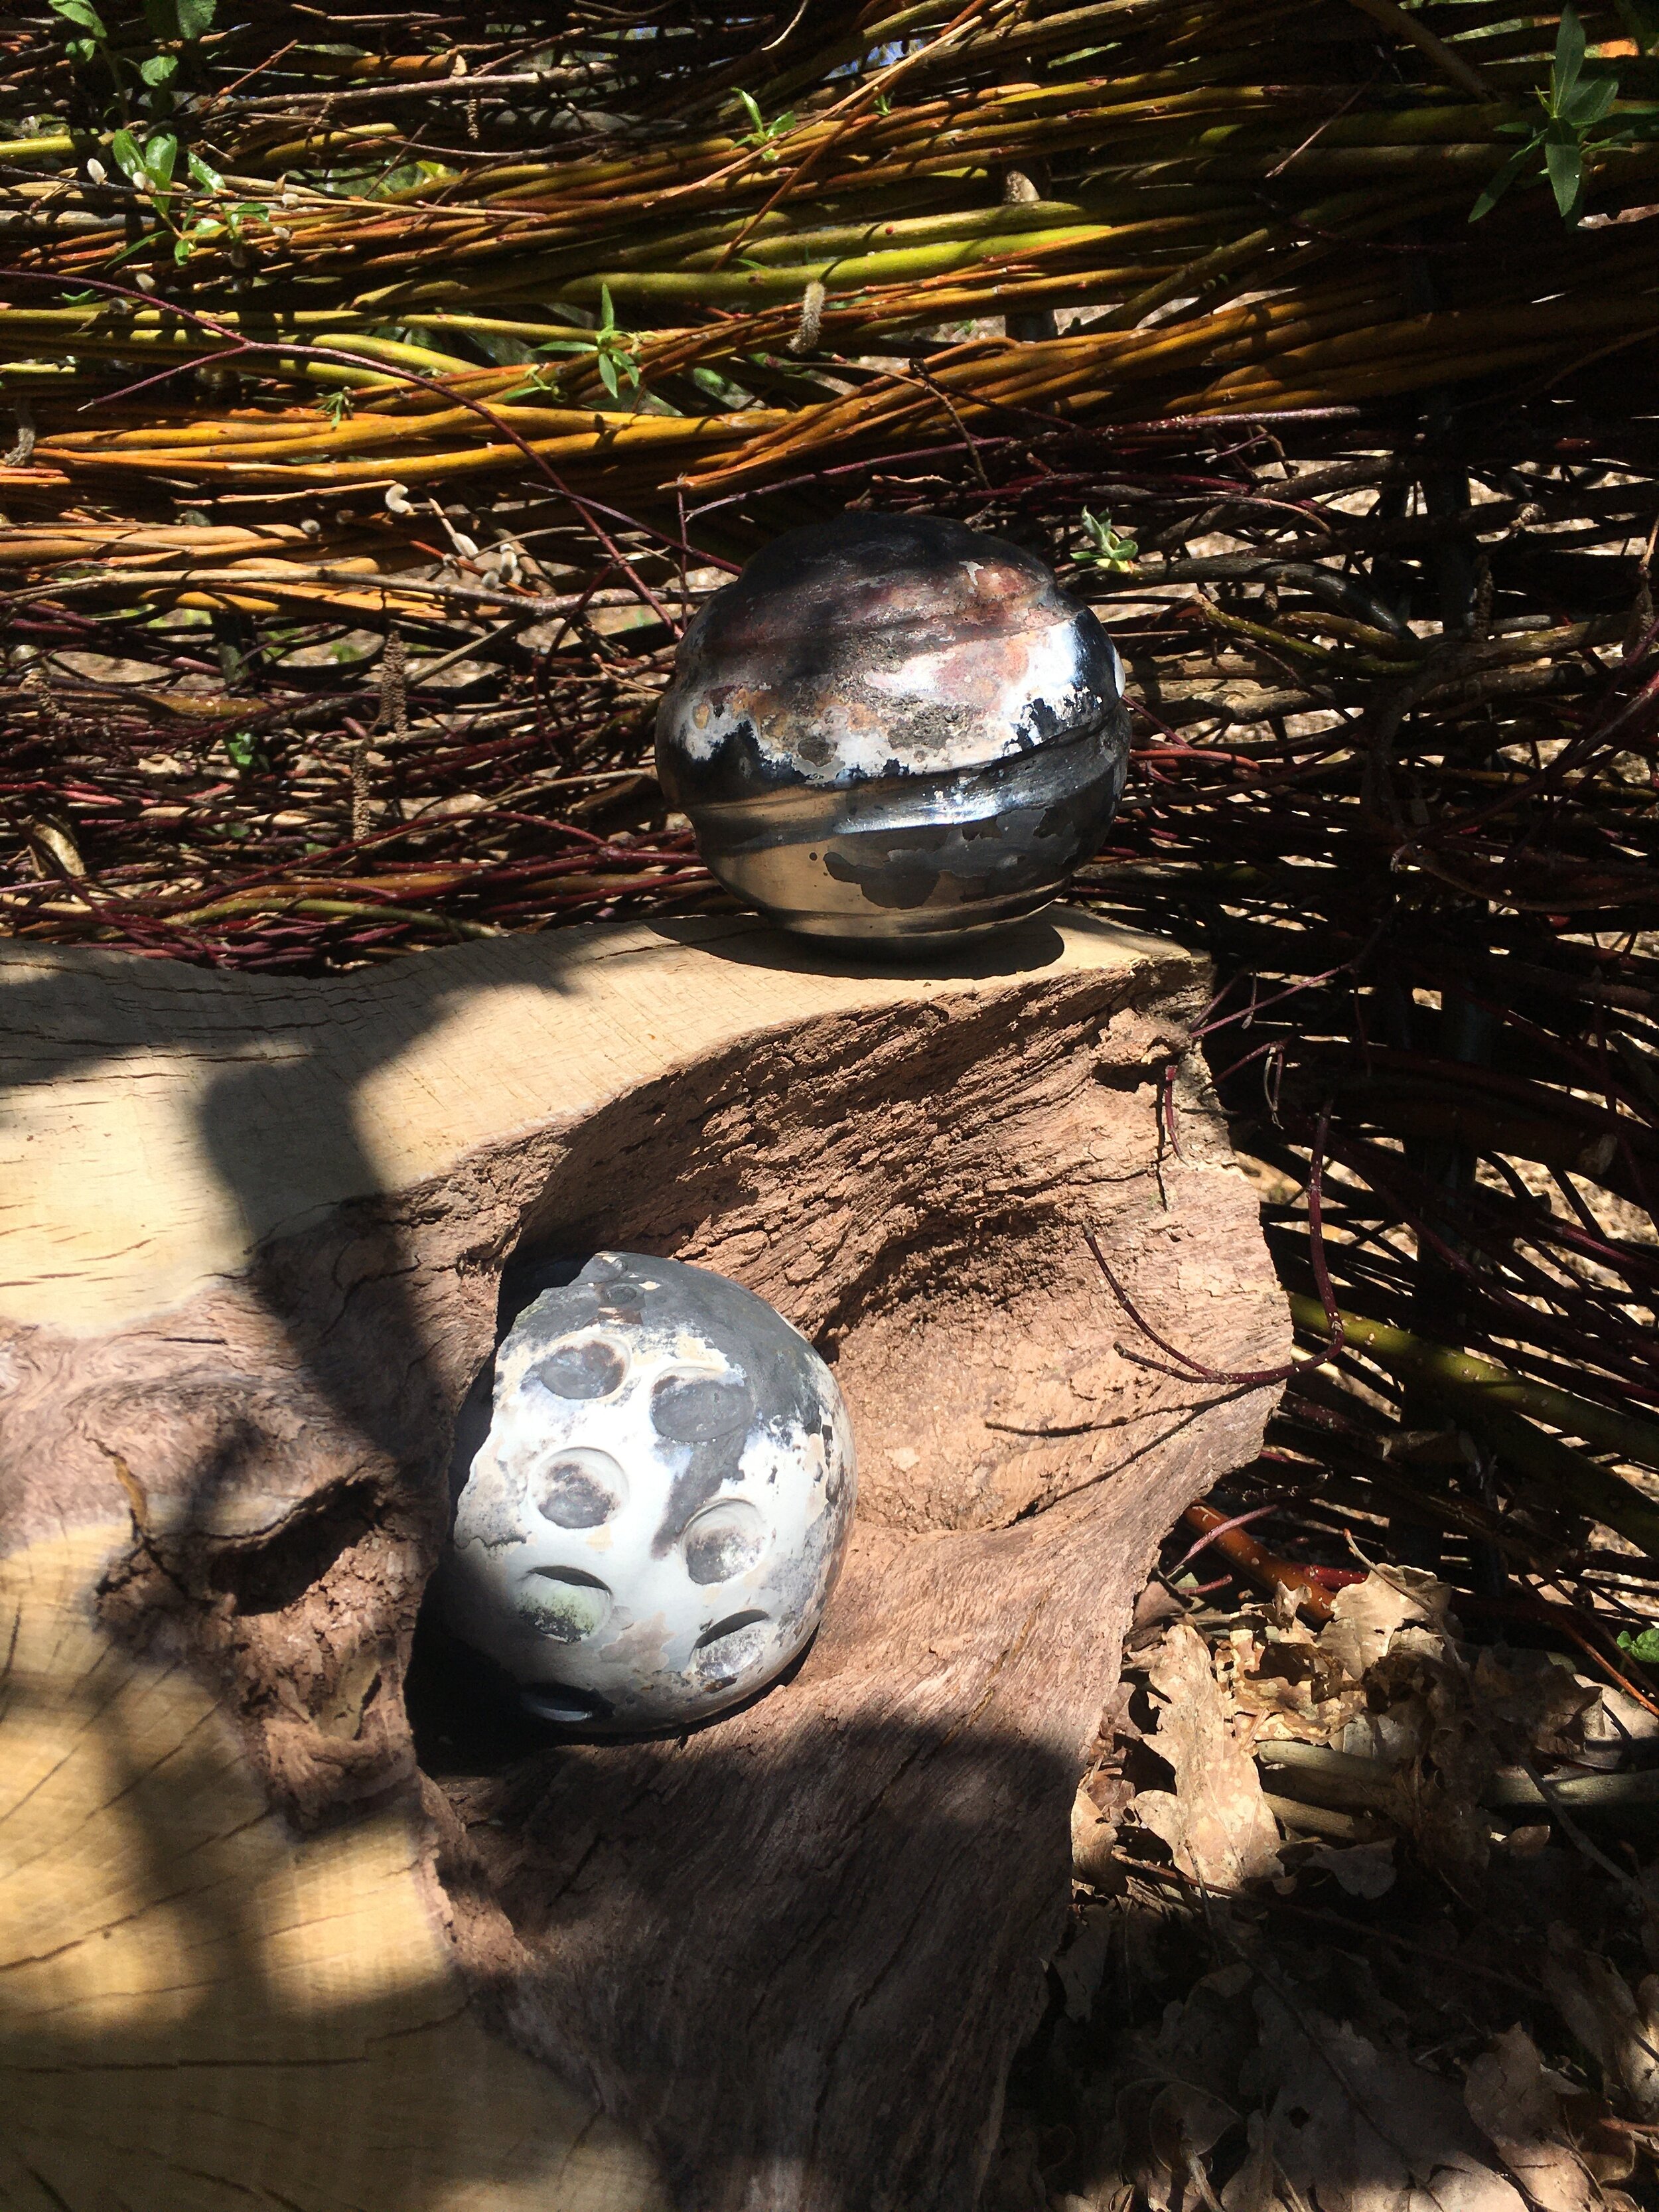
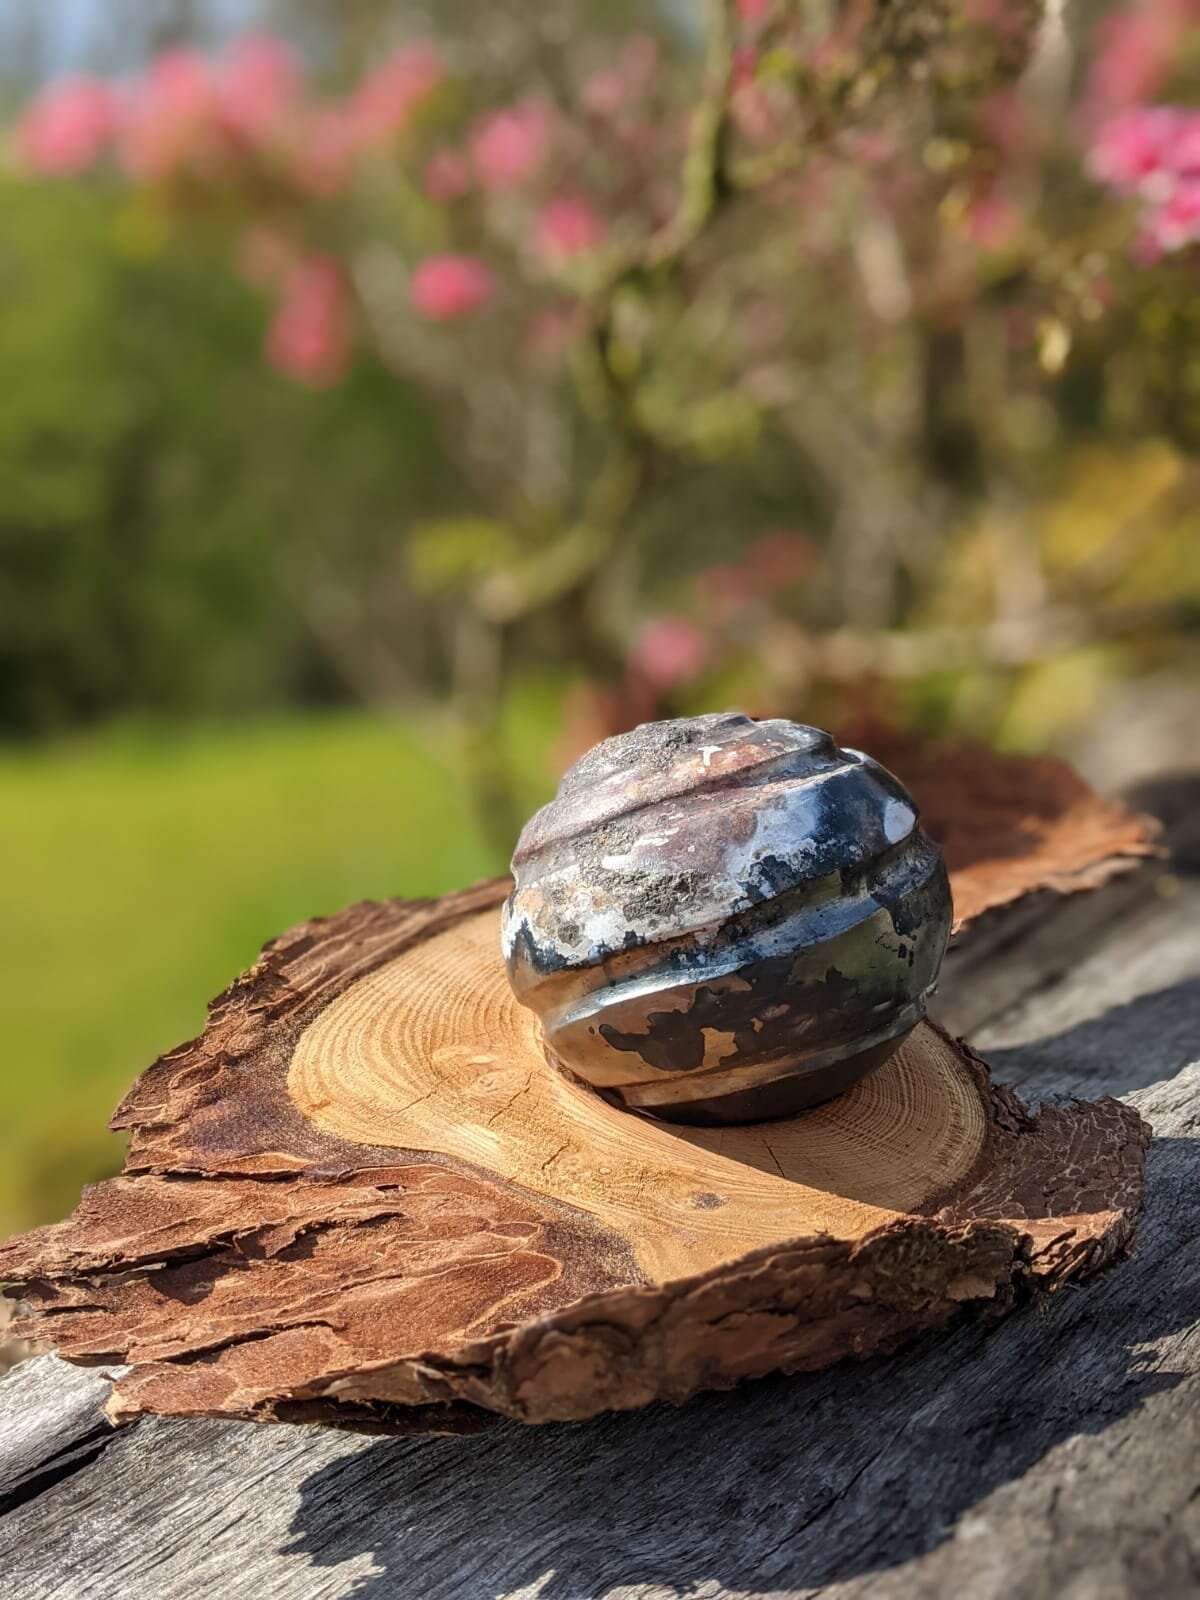
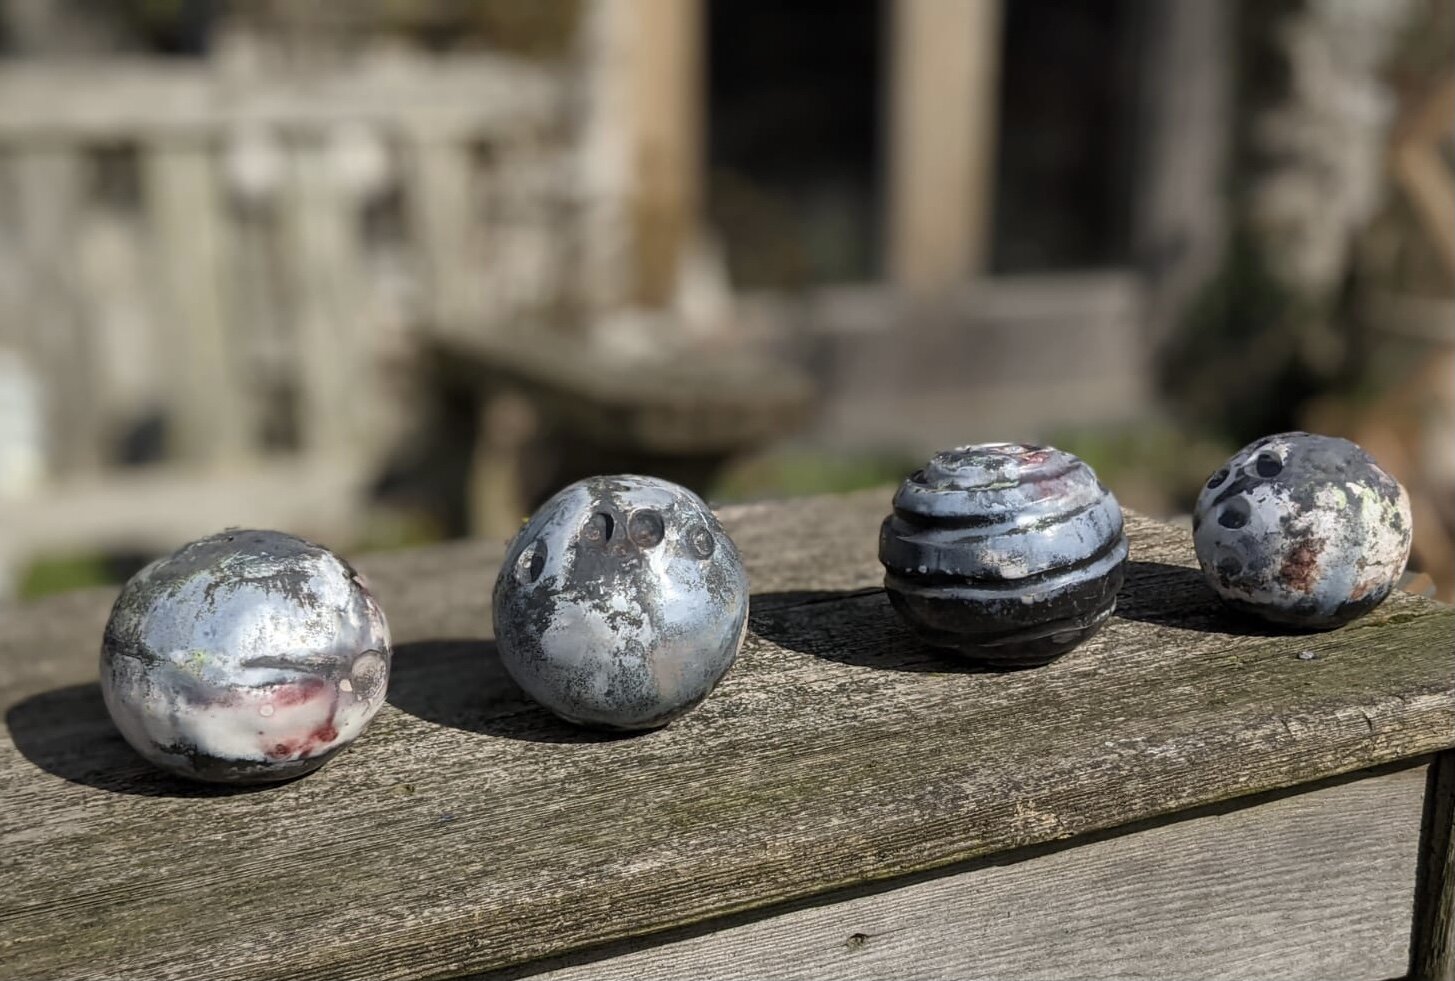
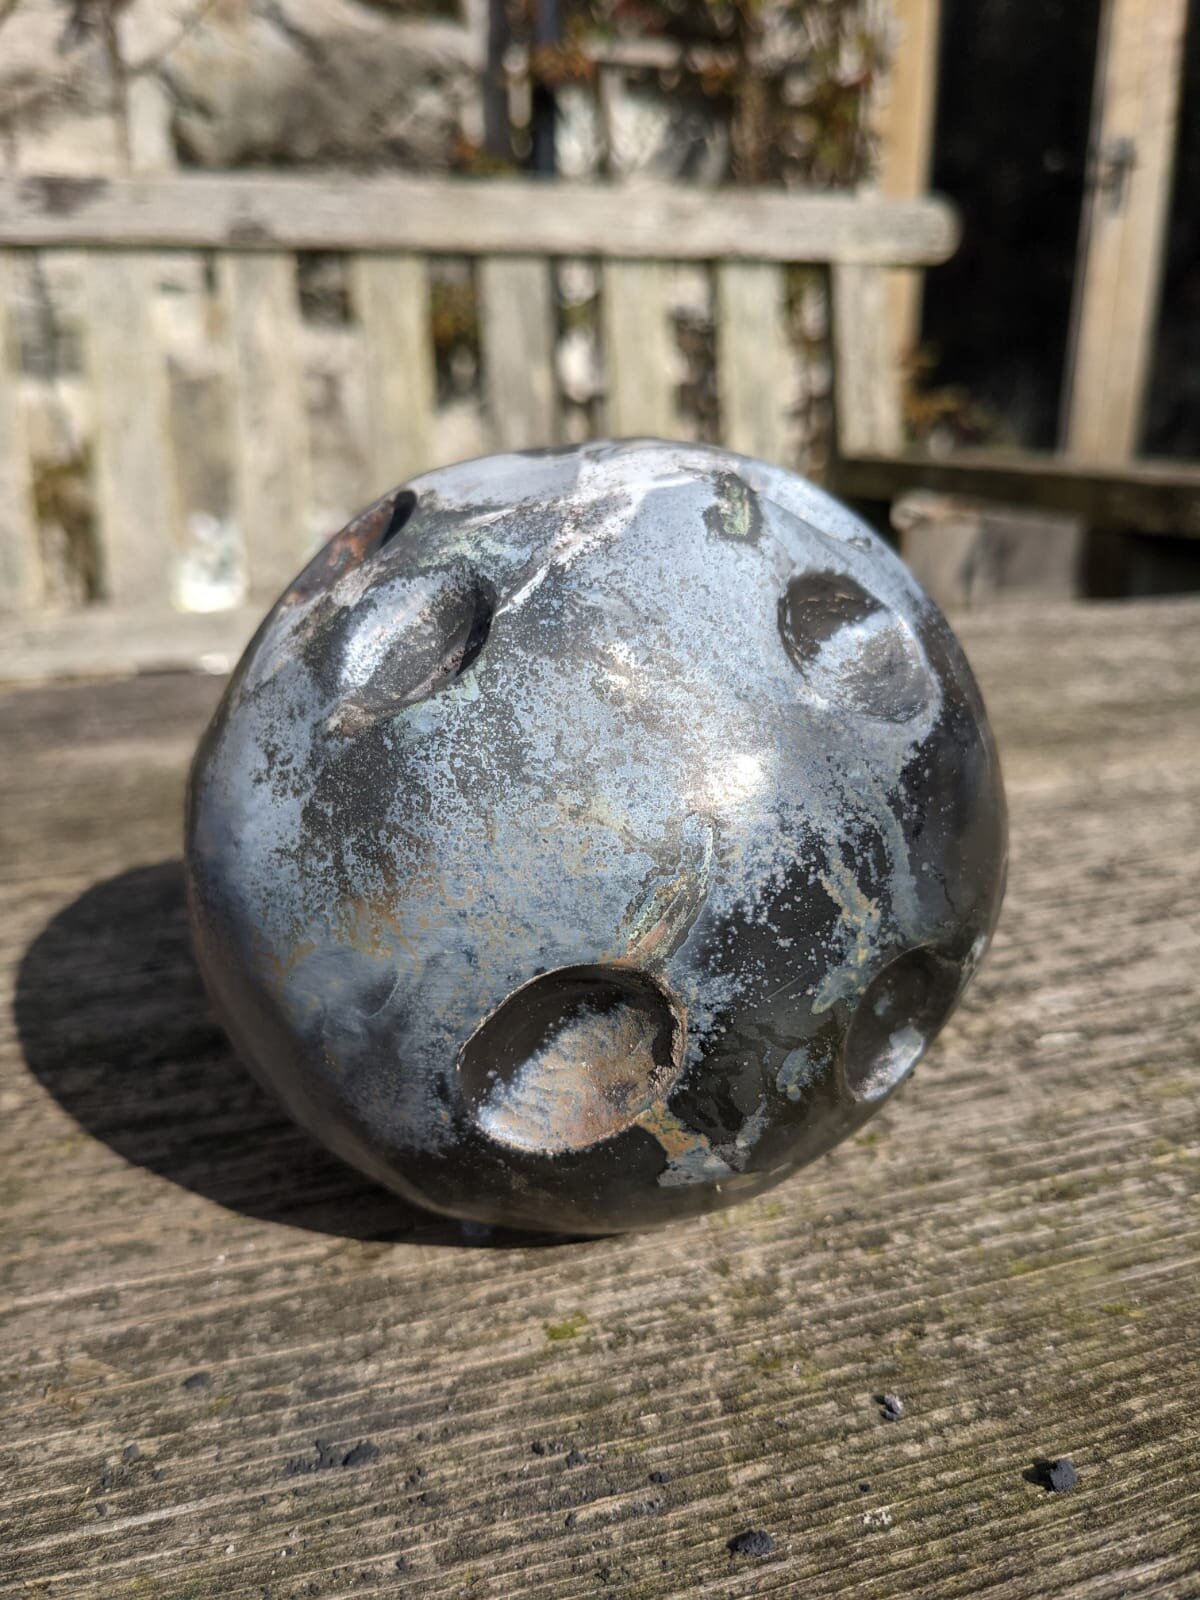
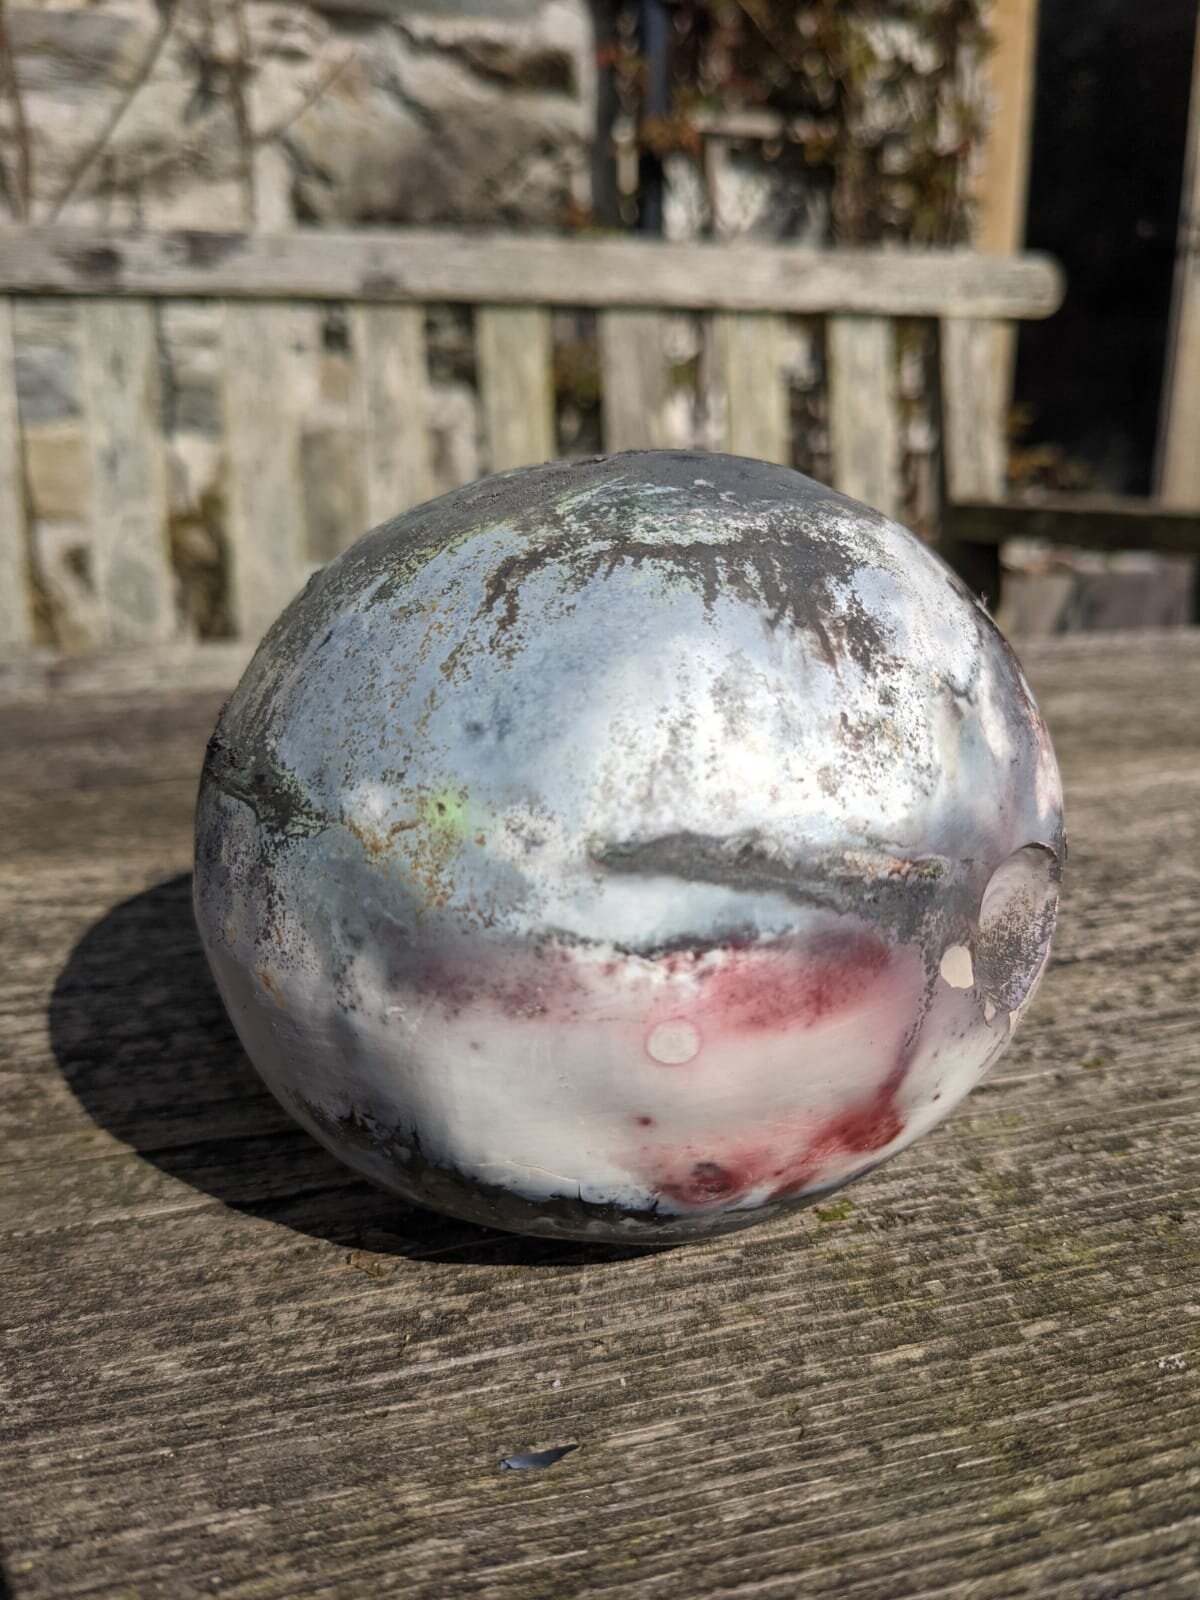
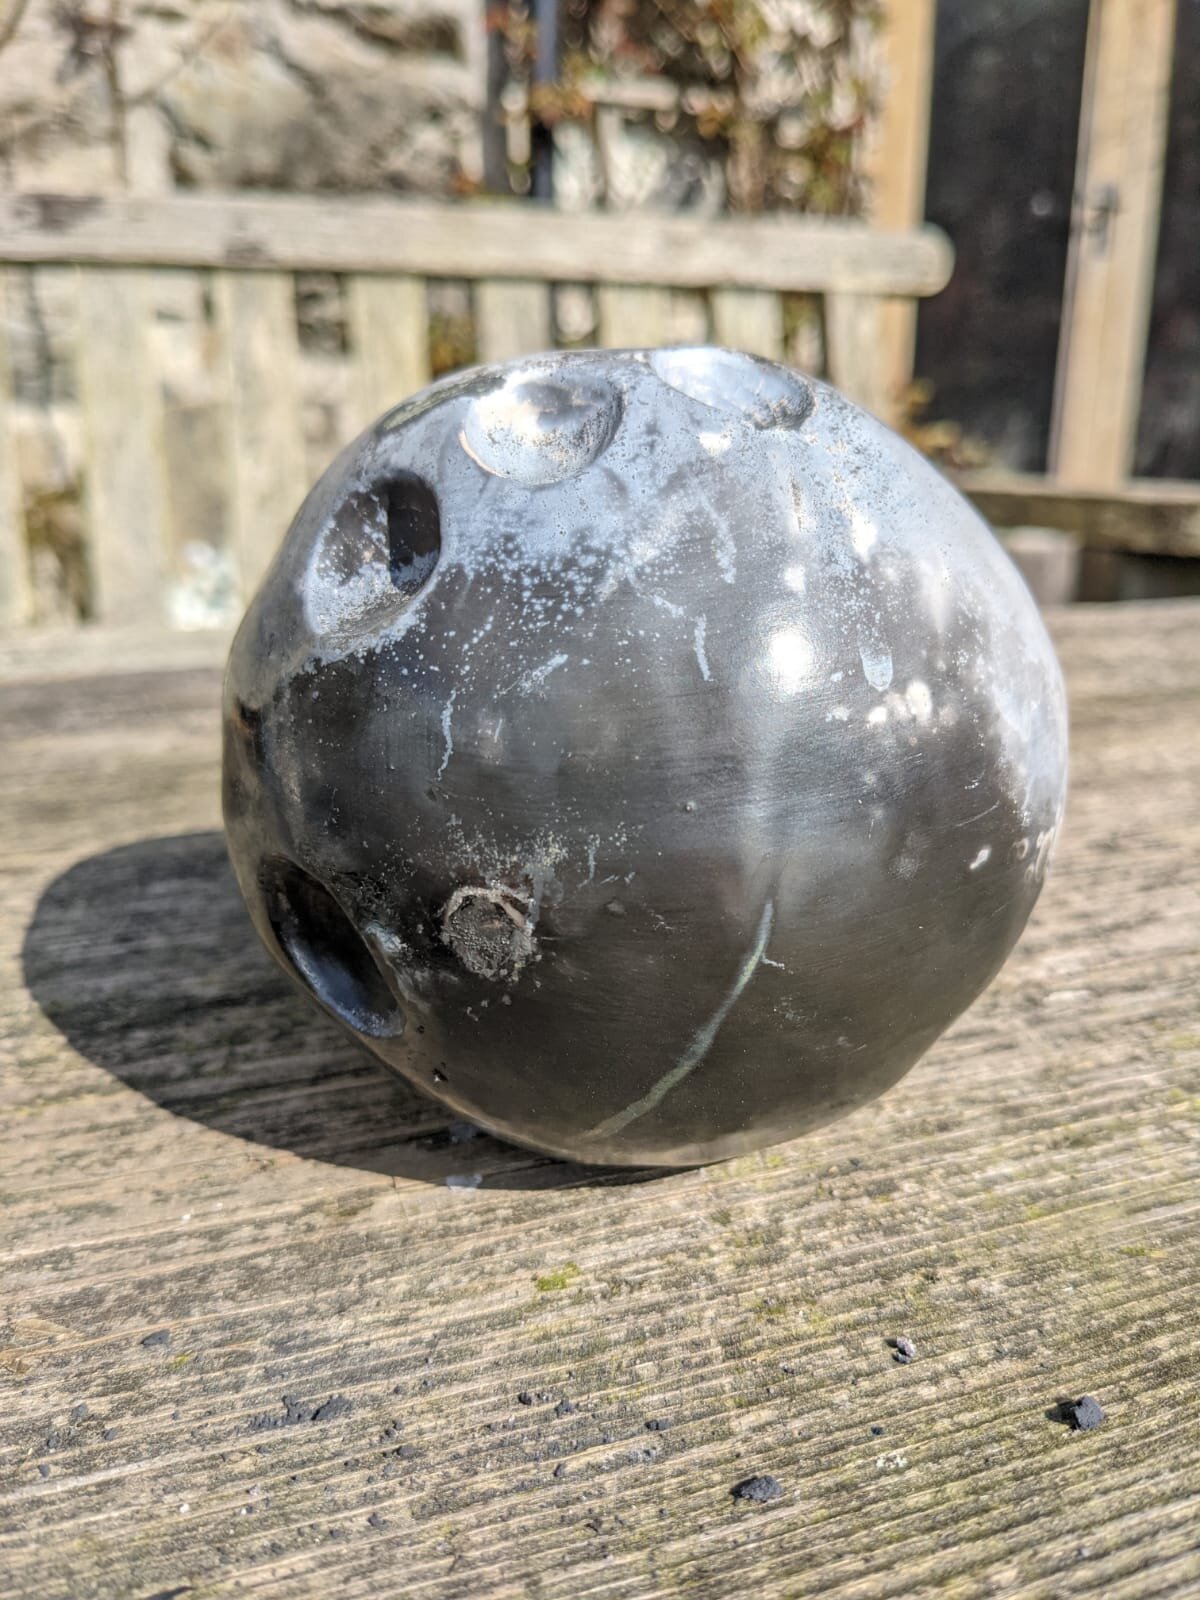
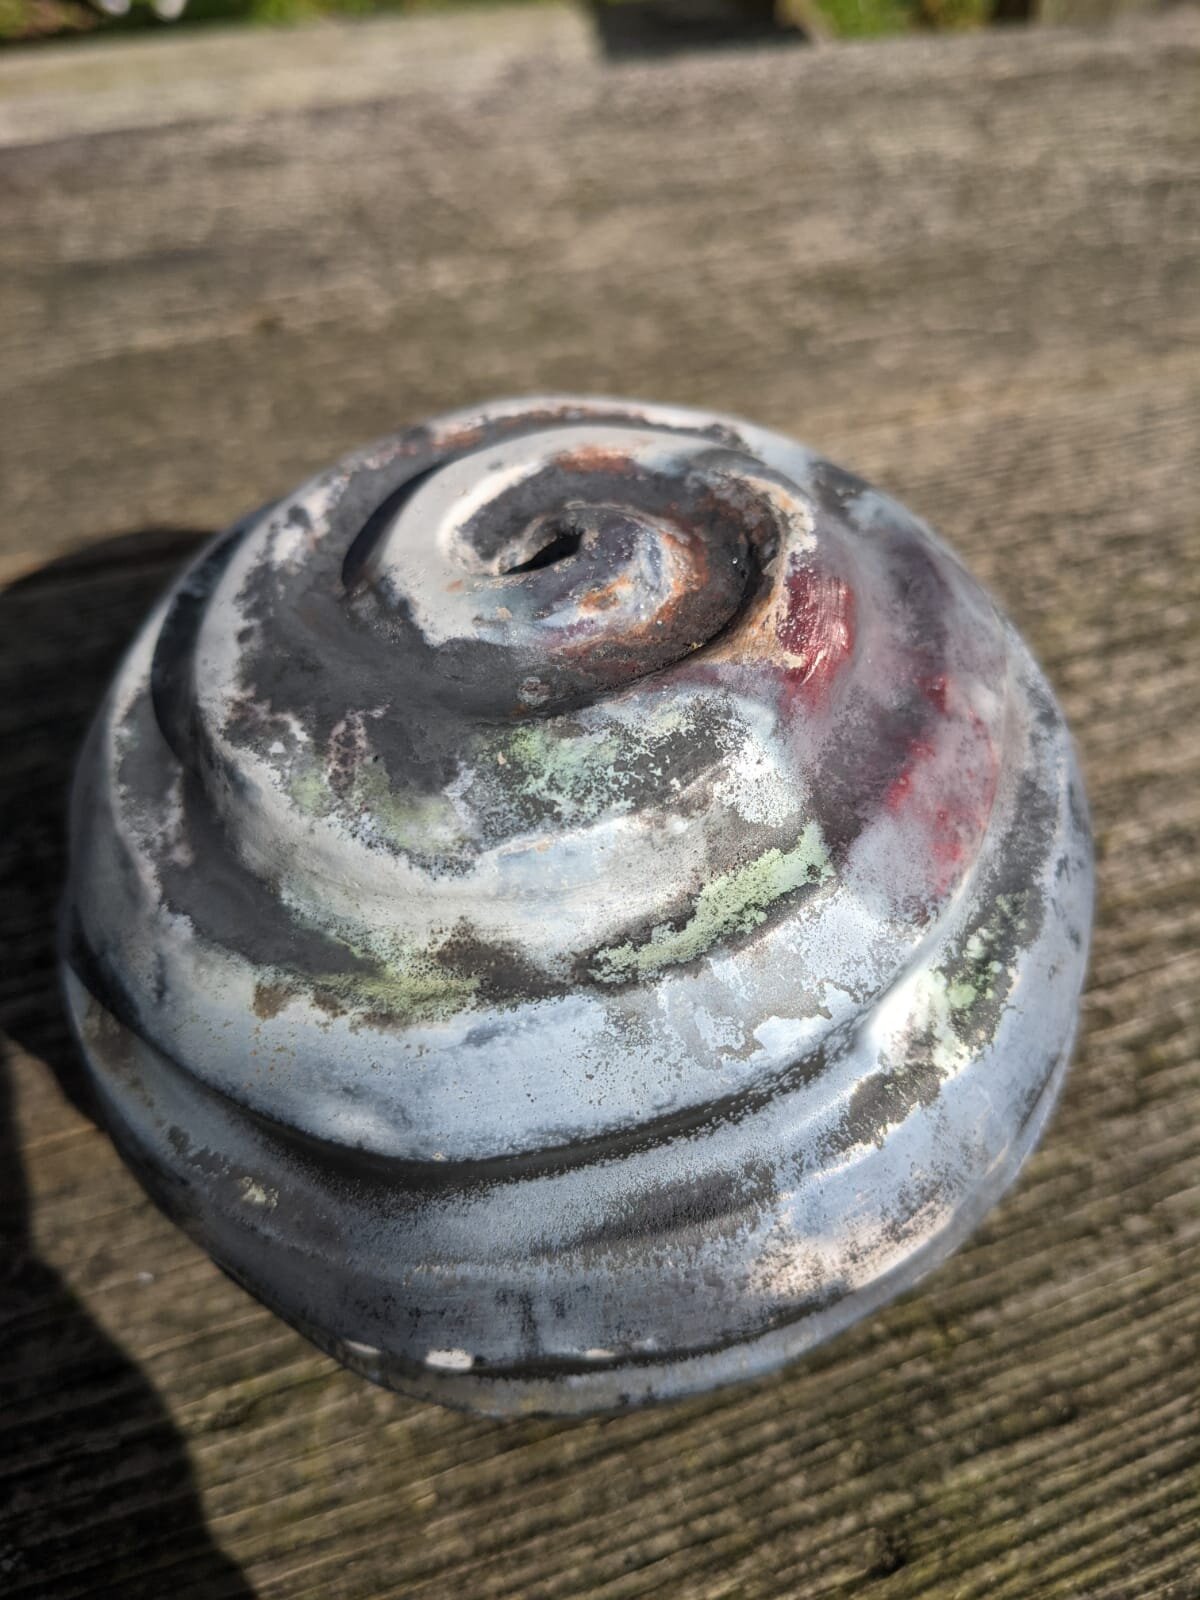
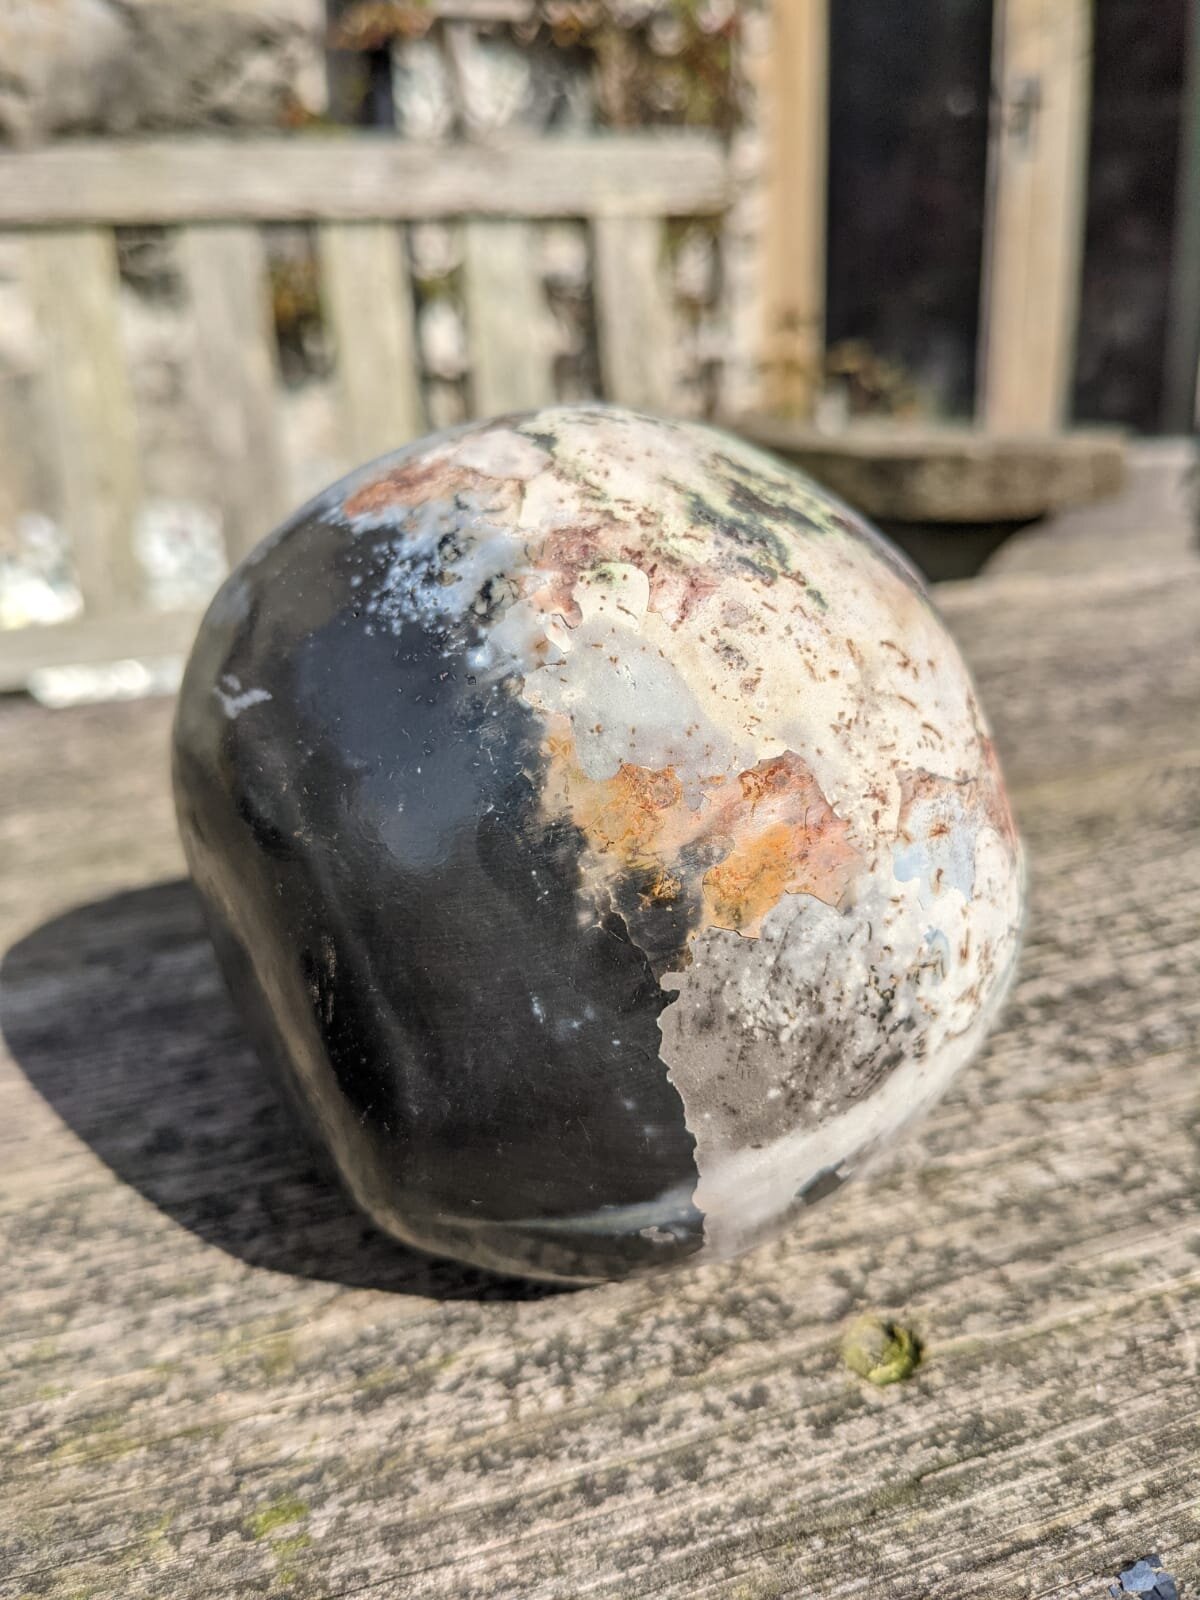
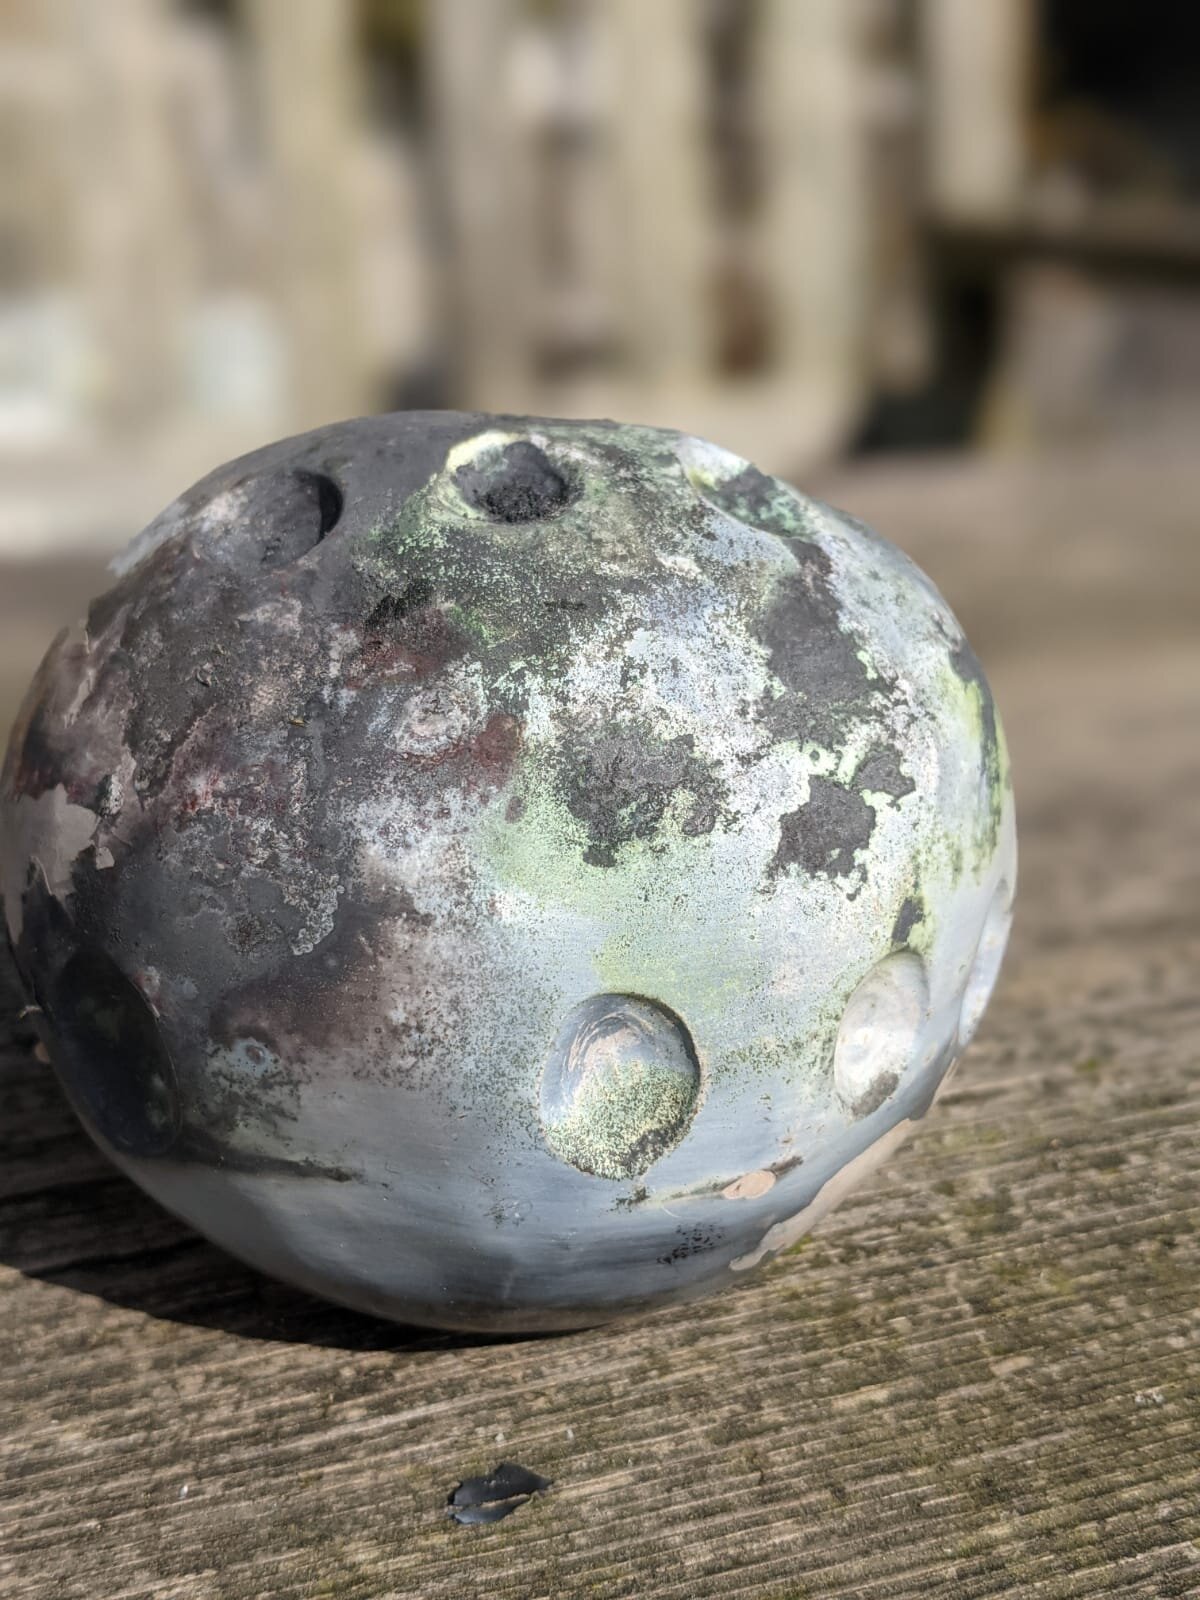
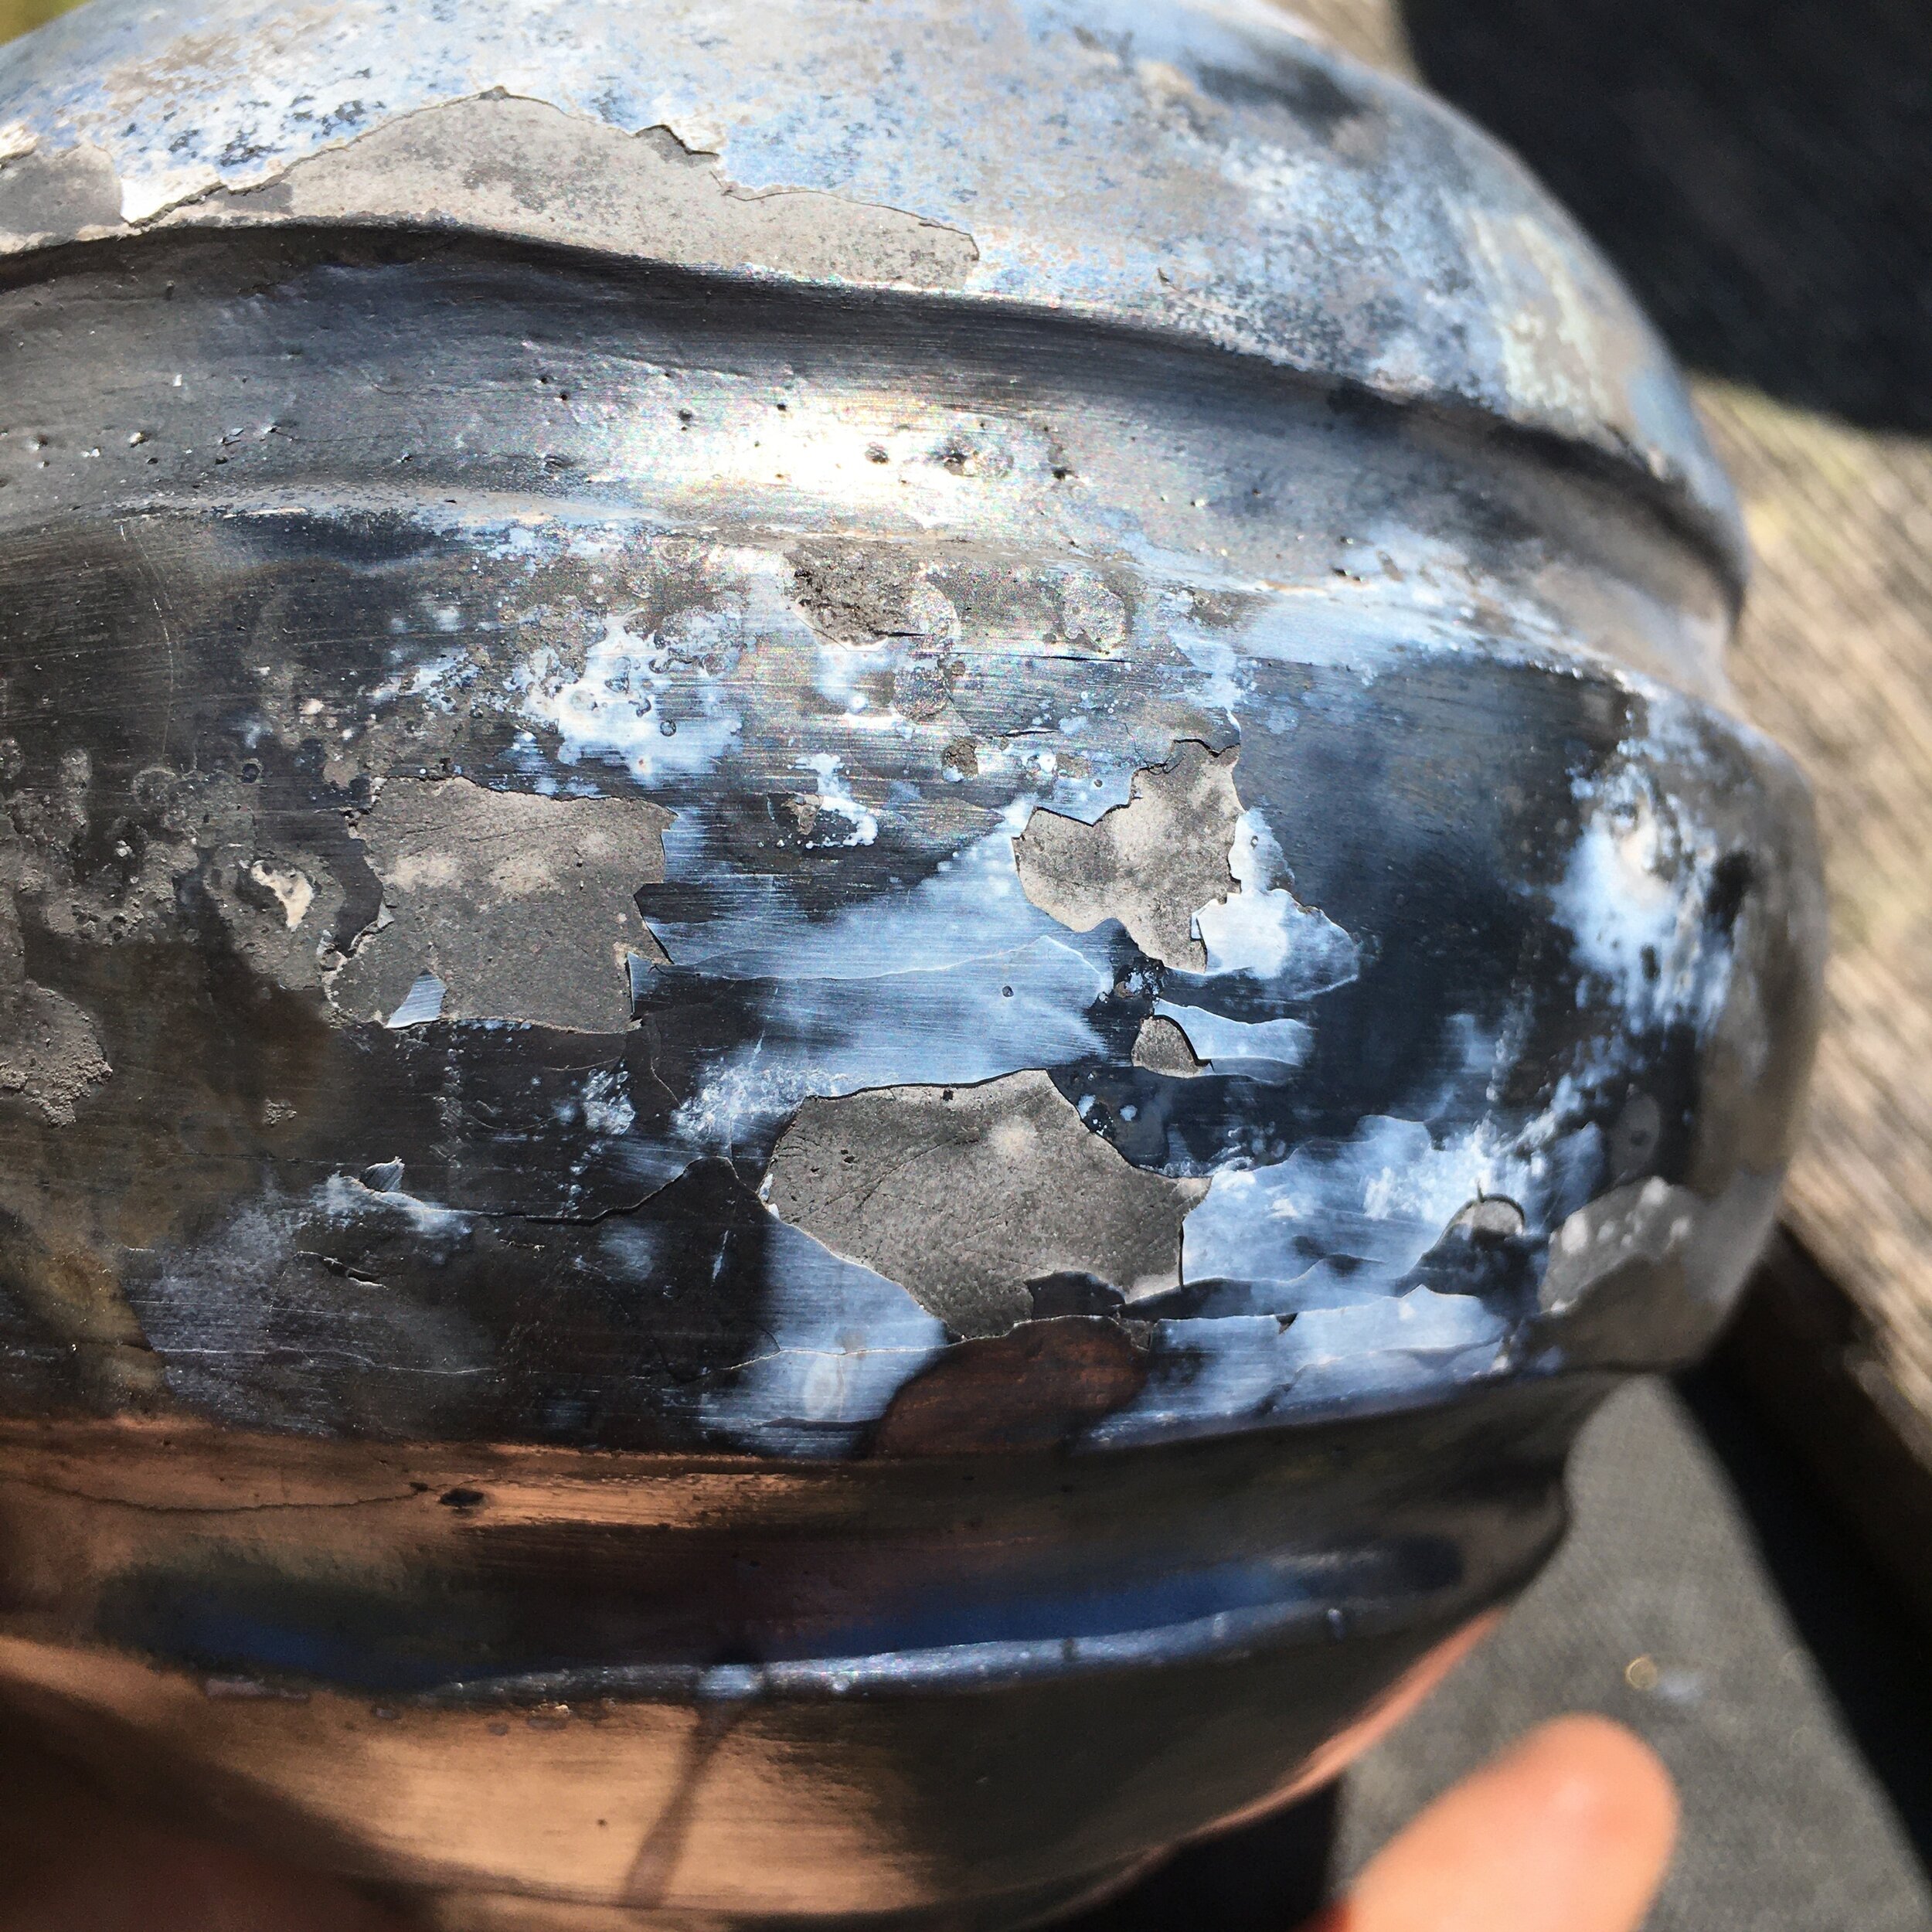
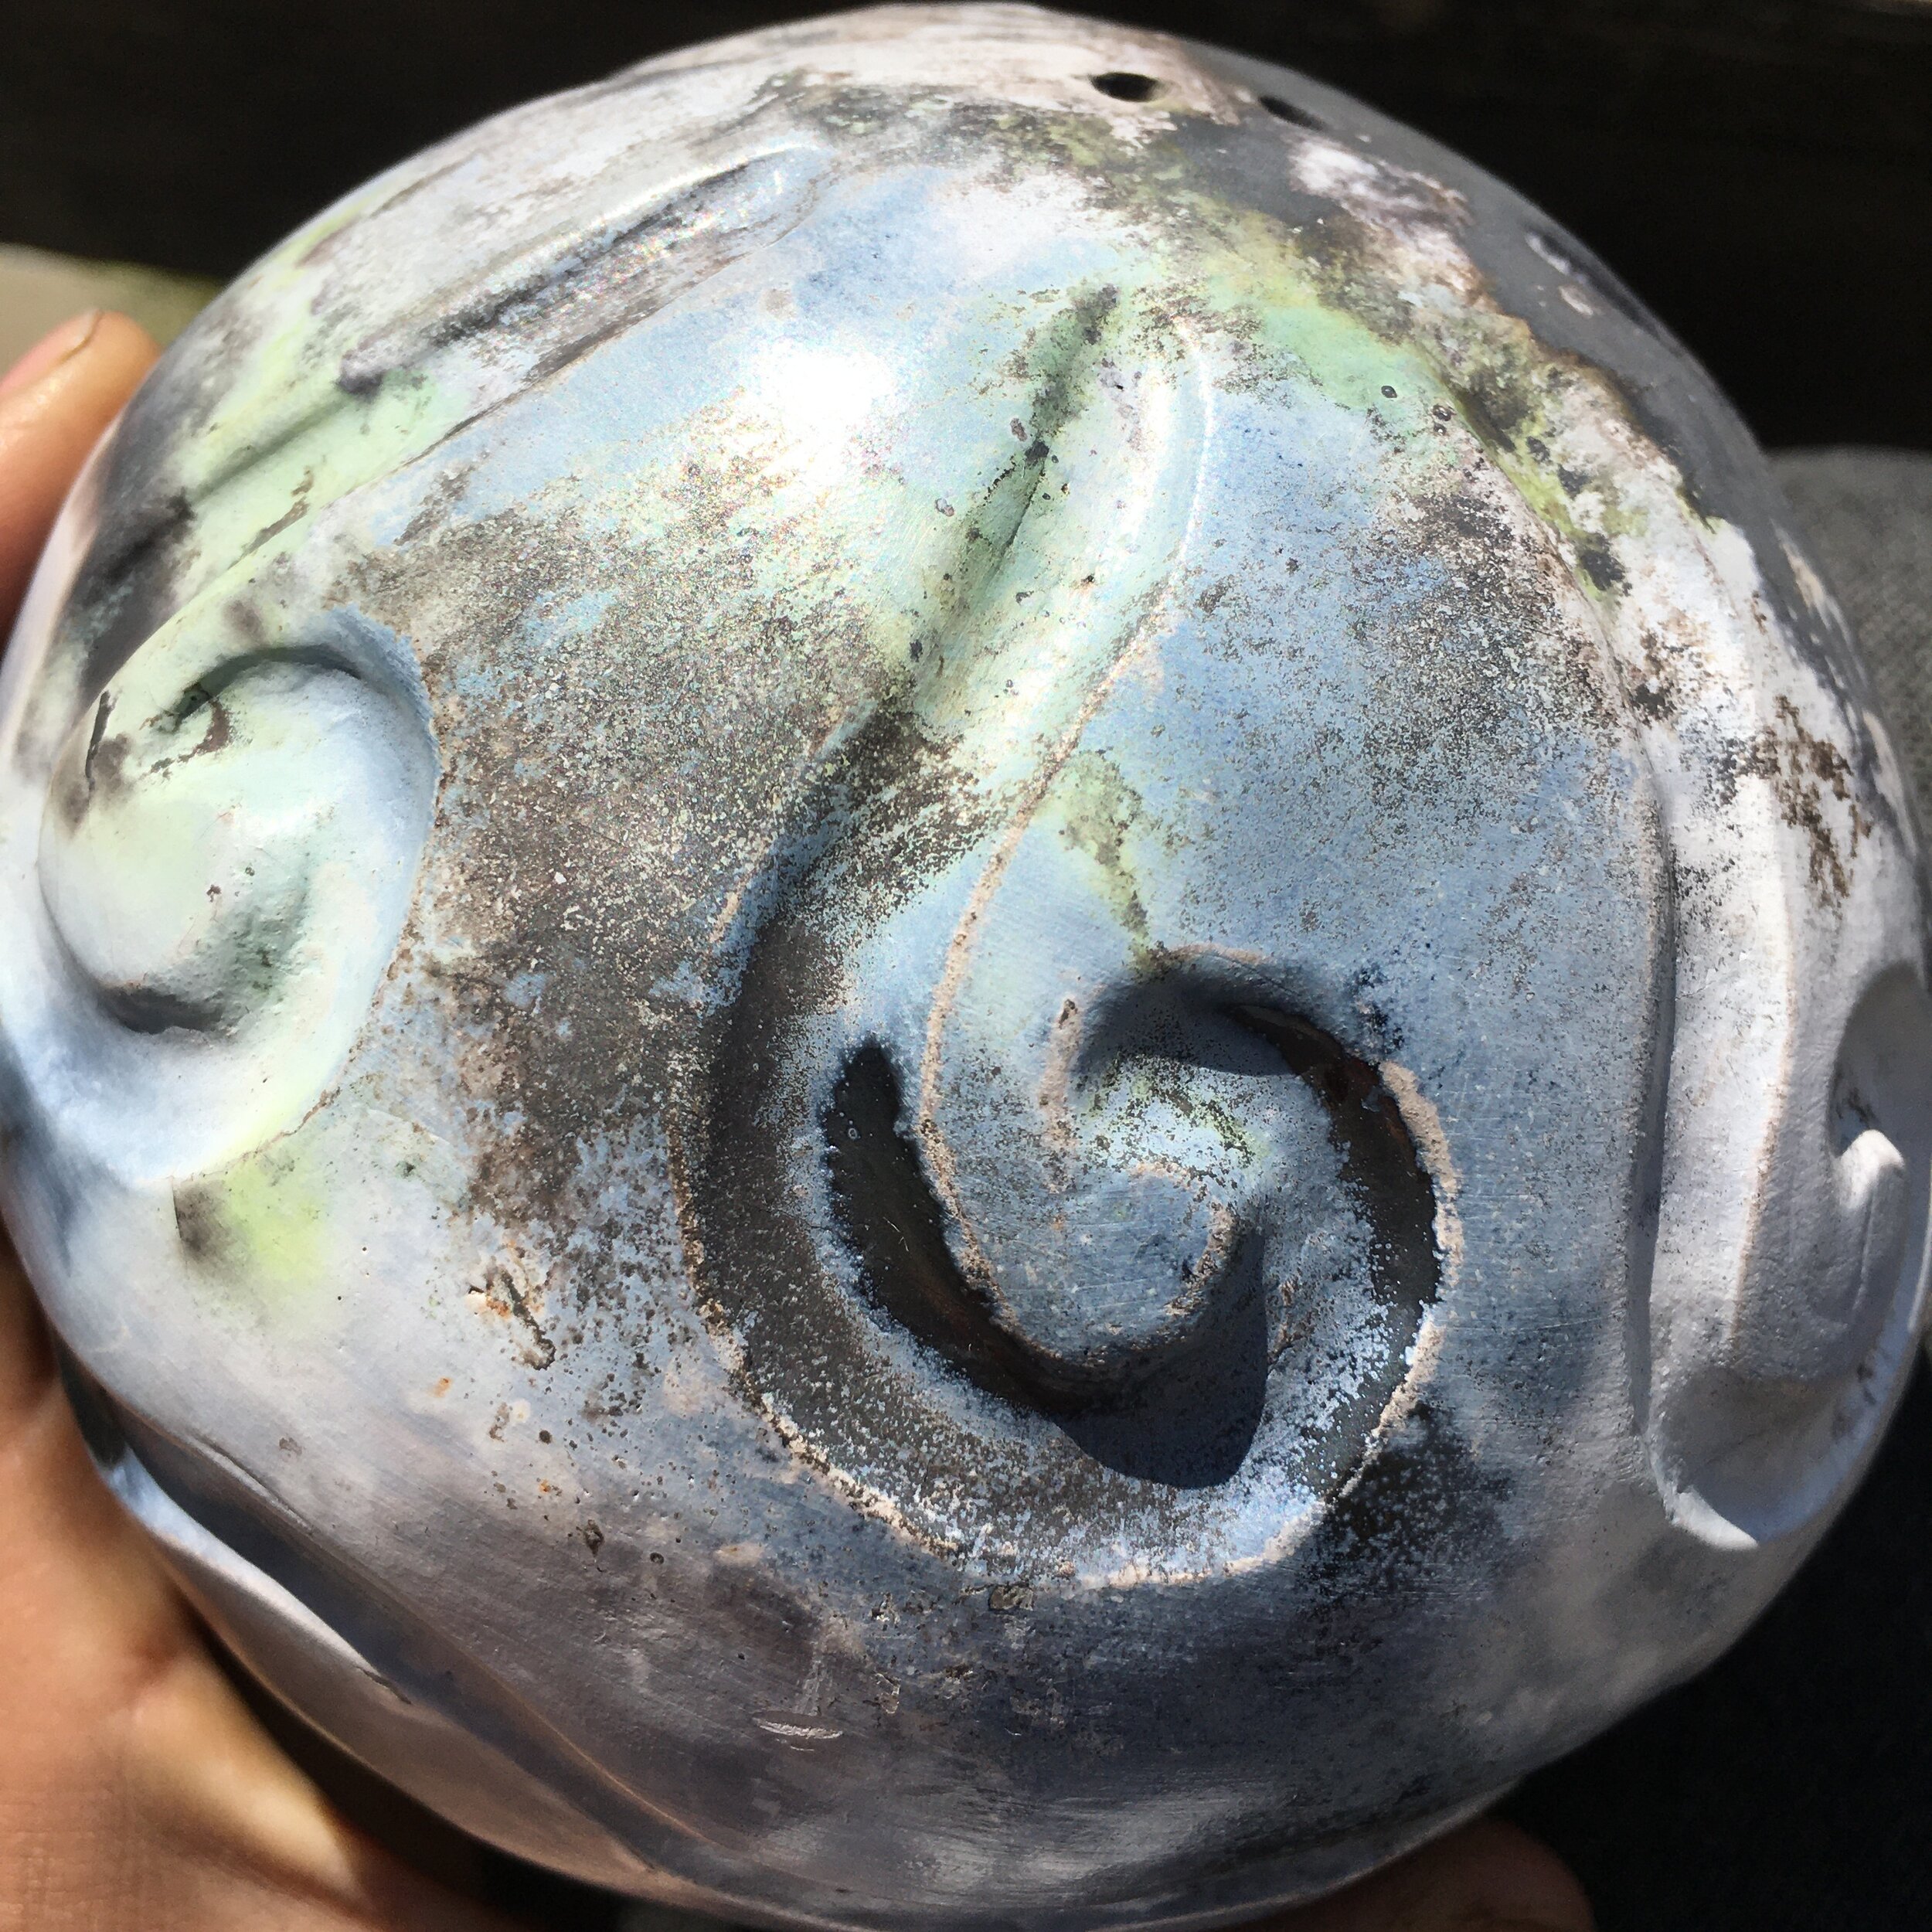
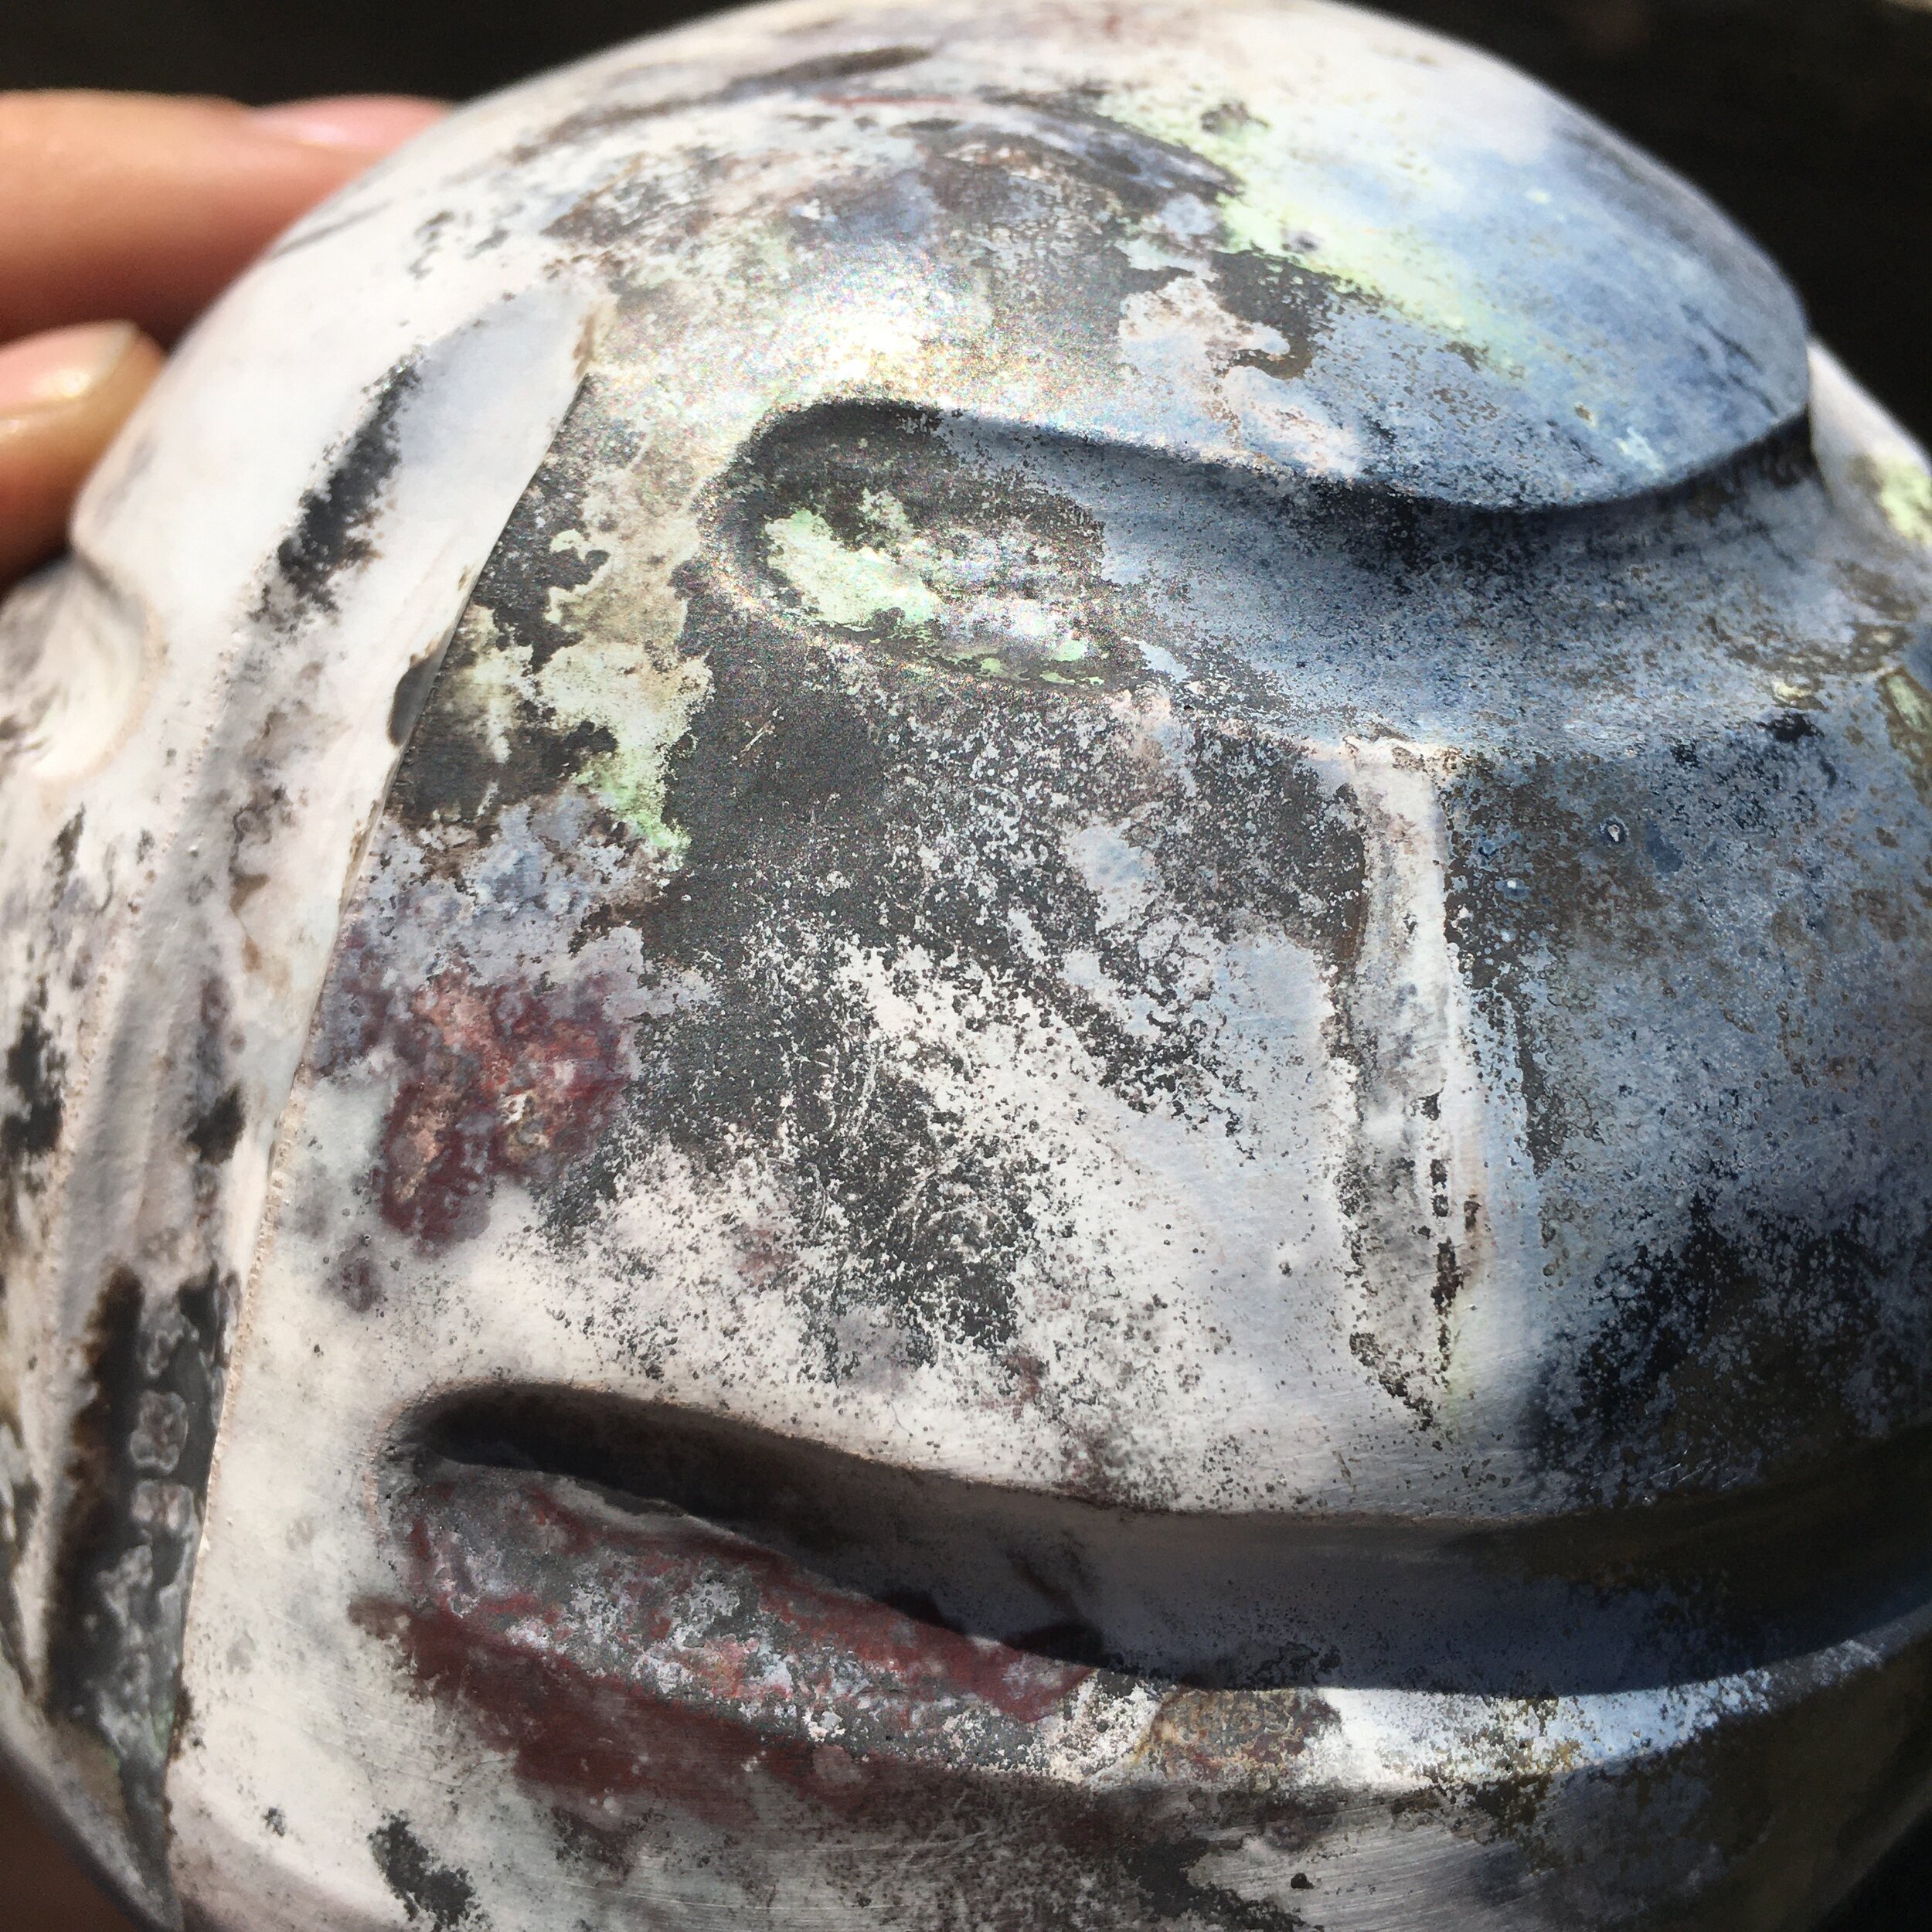
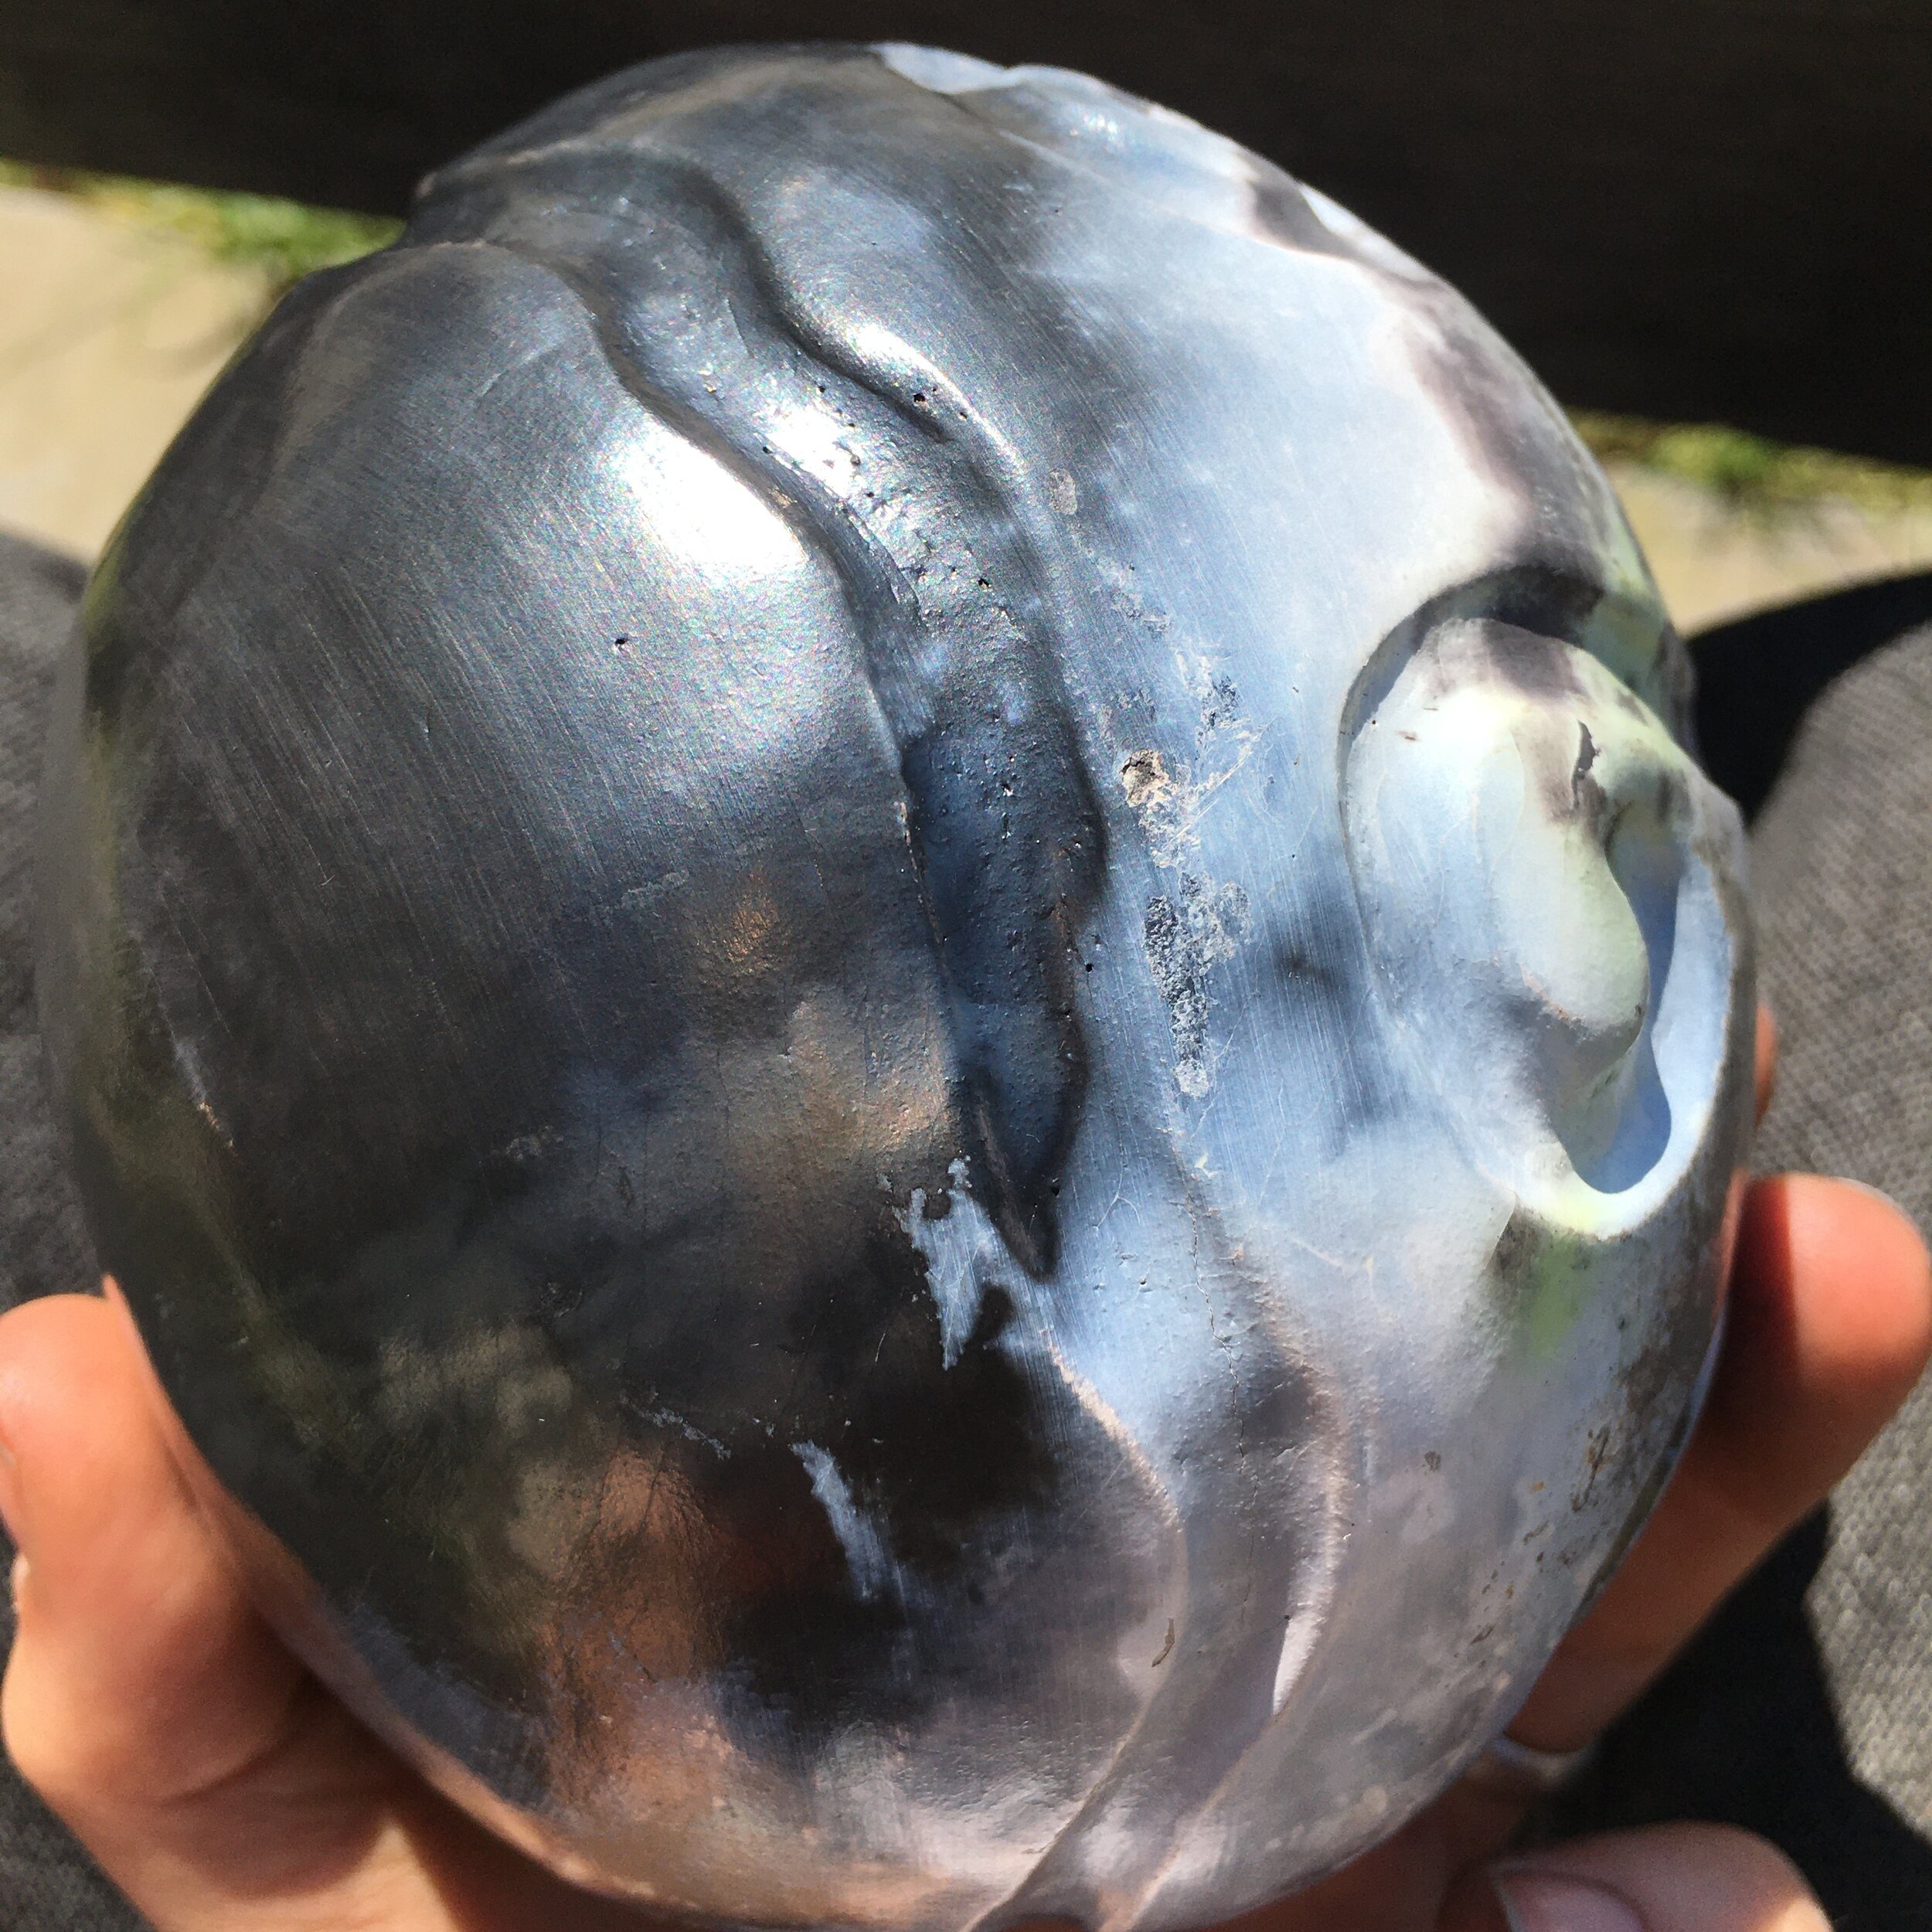
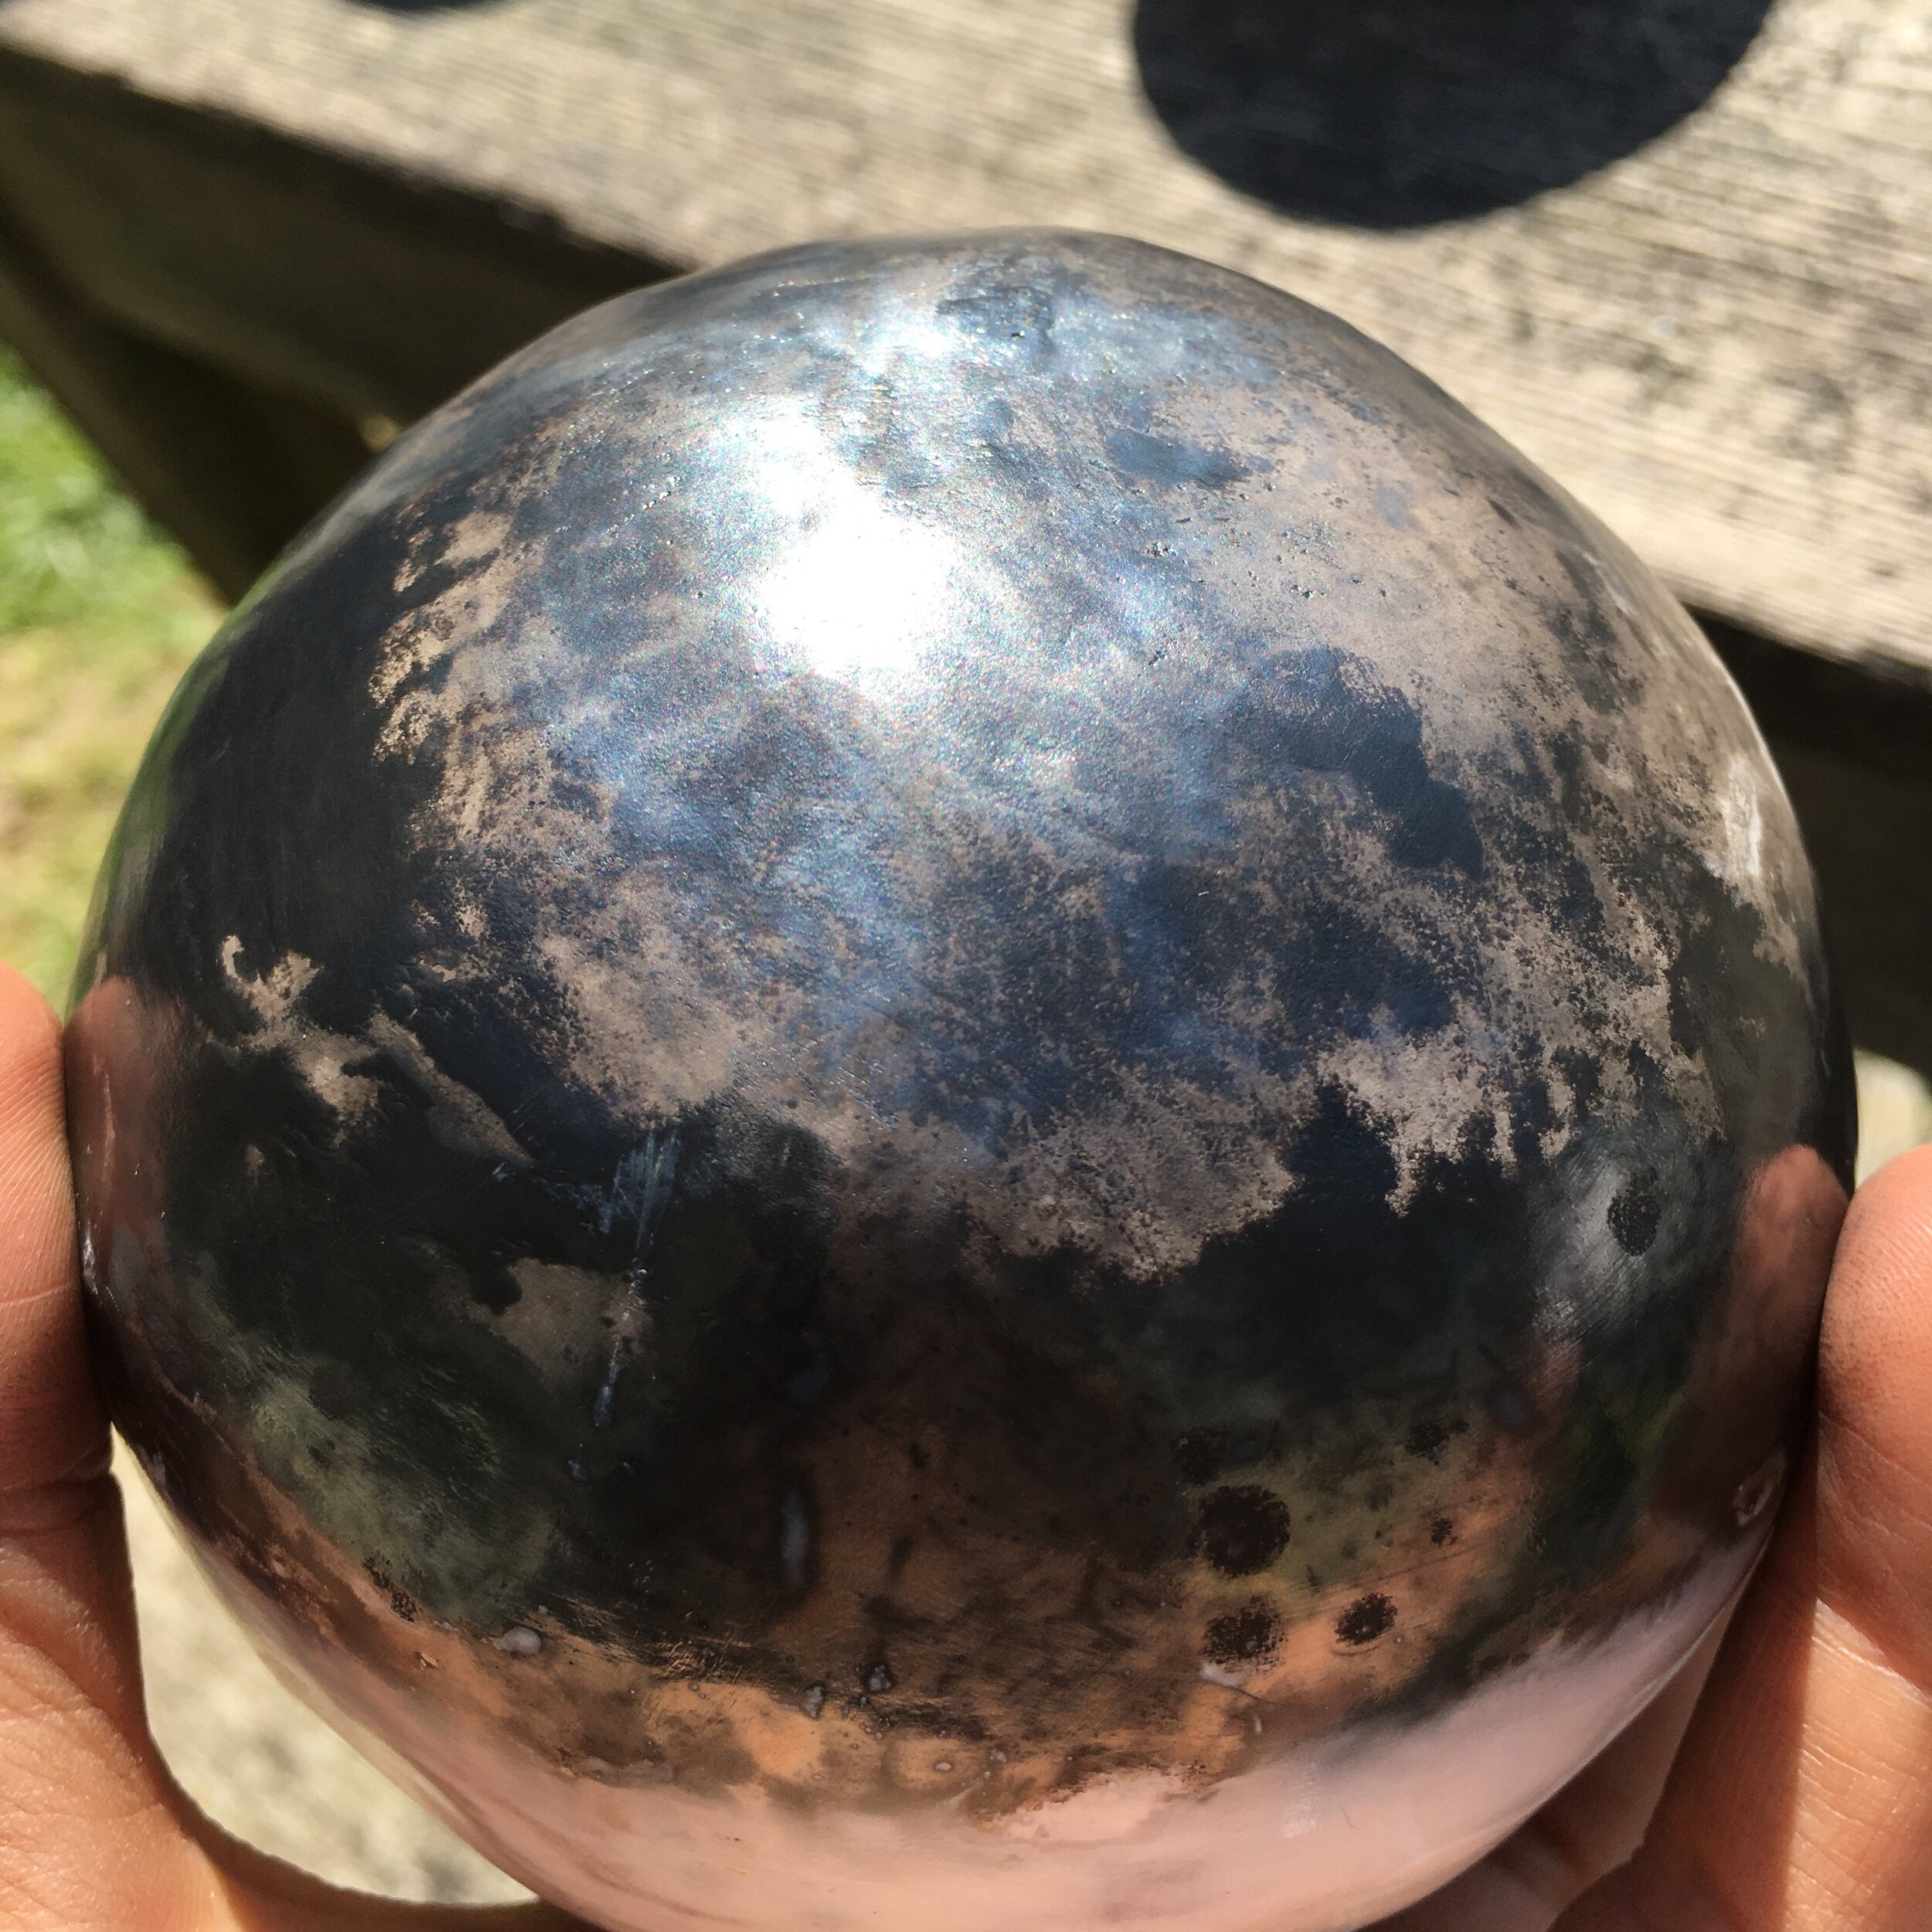
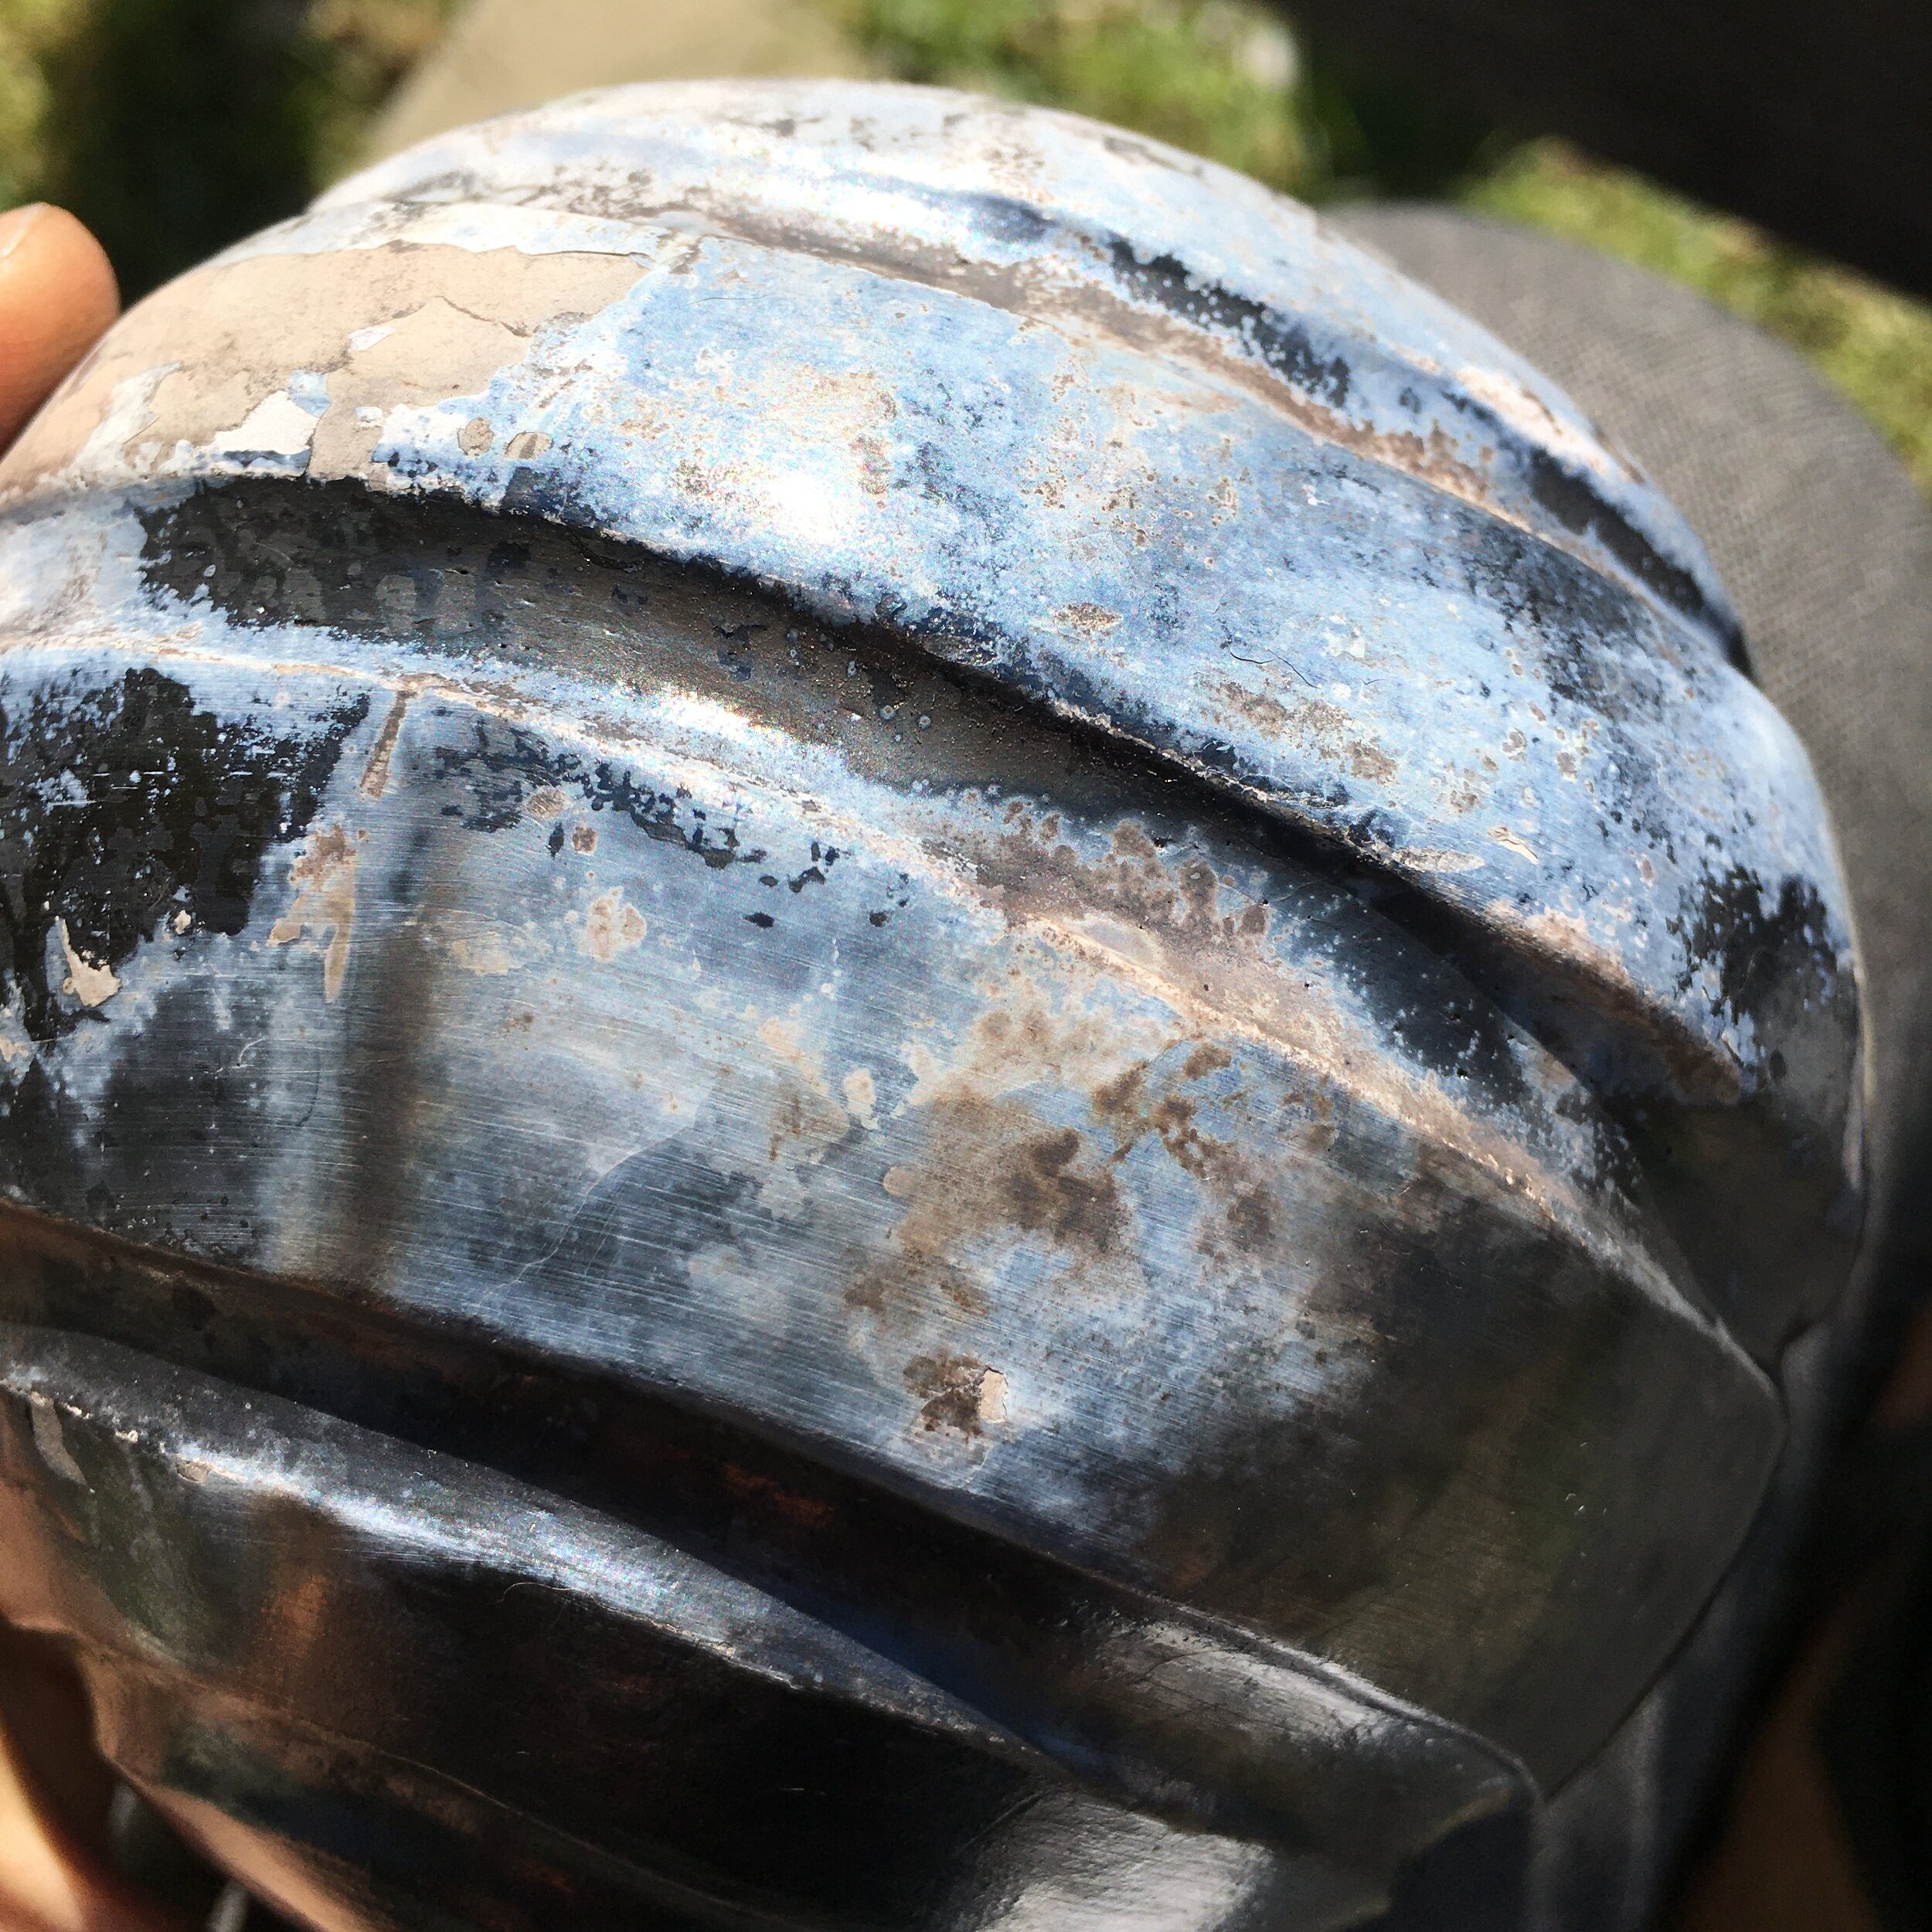
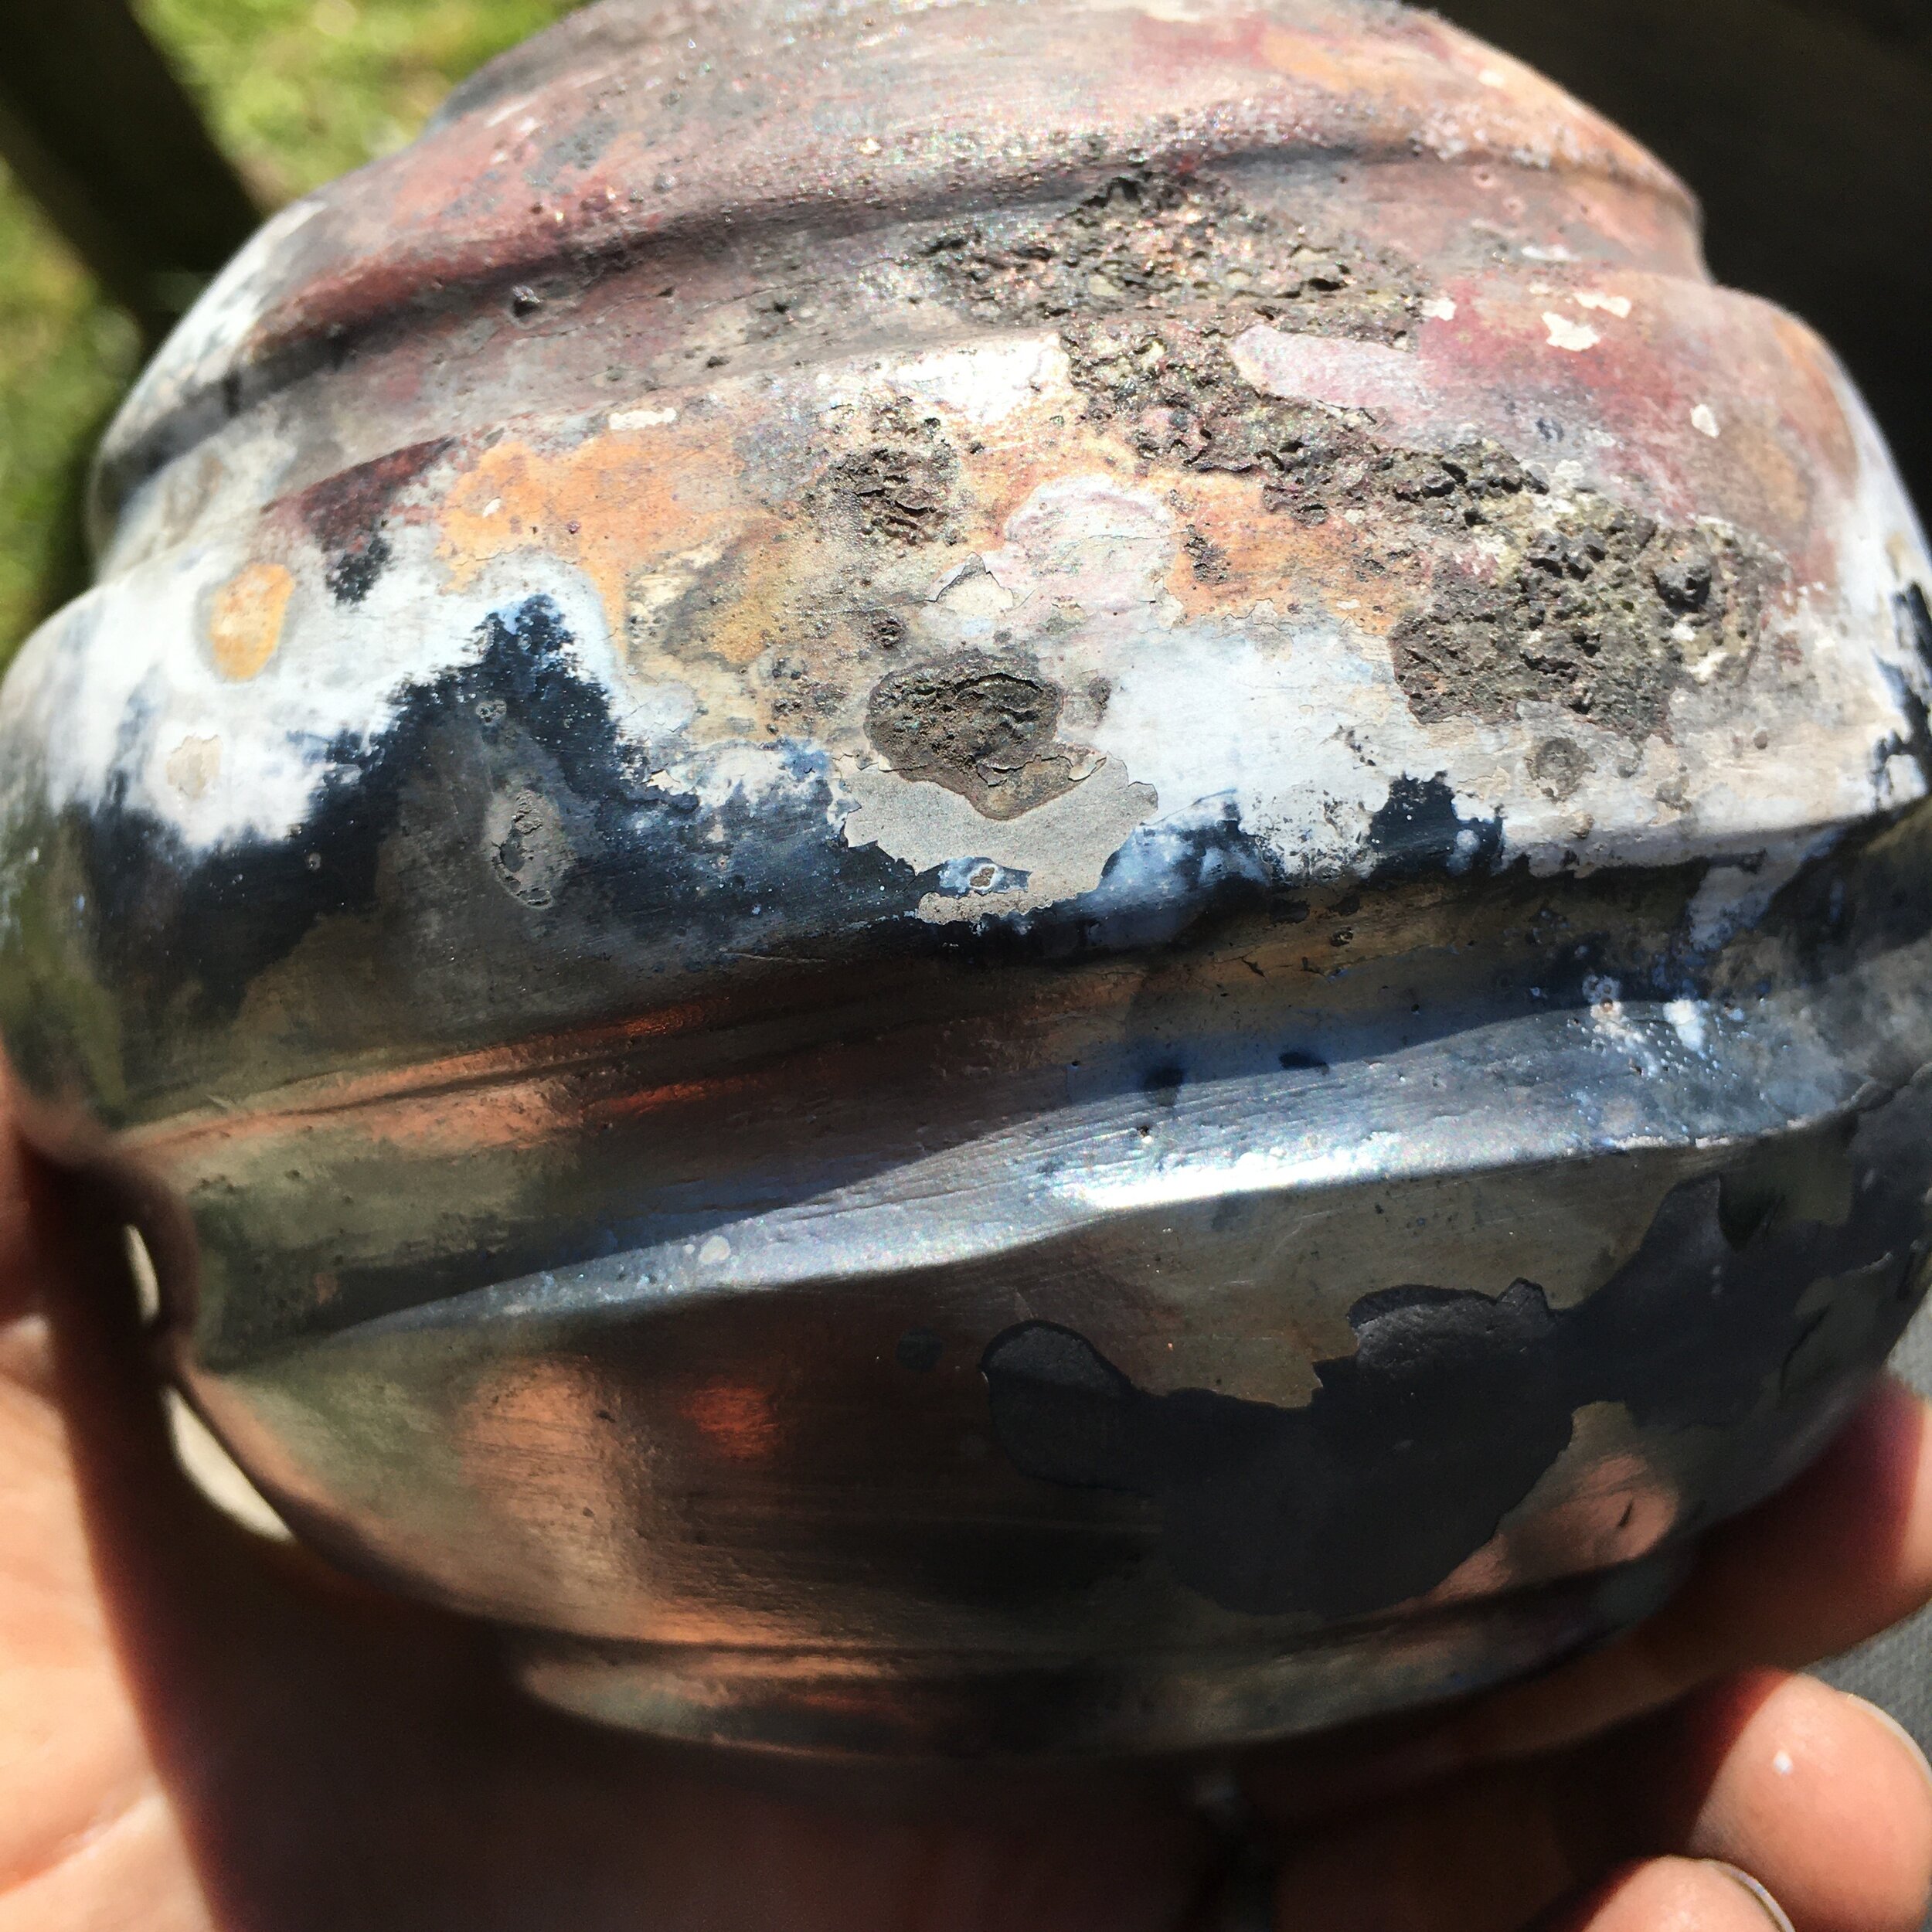
This work is a collection of pit fired wood mounted ceramic pieces intended to be objects of meditation and contemplation. The series is titled “Byd Bach/ Little World” and the focus is on perception and perspective. Exploring the idea of zooming out to see everything as tiny as it is from outer space whilst simultaneously zooming in to make visual comparisons with lichen and rock formations. Harnessing the full power of nature in the form of heat during the pit firing process, utilising raw clay and found wood to complete the work. The beautiful, ancient power of fire transforms the clay into a captivating piece of art sculpture.
Some little videos…
The short video on the left shows the making process of a burnished sphere, which is how this whole project began! It definitely takes more than 30 seconds to make one! And on the right is a video showing some of the sensory elements of these pieces.
Exhibitions
Craft in the Bay, Cardiff
Some of this collection are currently in an exhibition at Craft in the Bay in Cardiff. The exhibition is on for the whole month of June!
https://www.makersguildinwales.org.uk/emerging-makers-cmu-2021.html
CSAD Degree Show
This collection is exhibited online in the Cardiff School of Art and Design BA Artist Designer Maker Degree Show!
Pit Firing Process
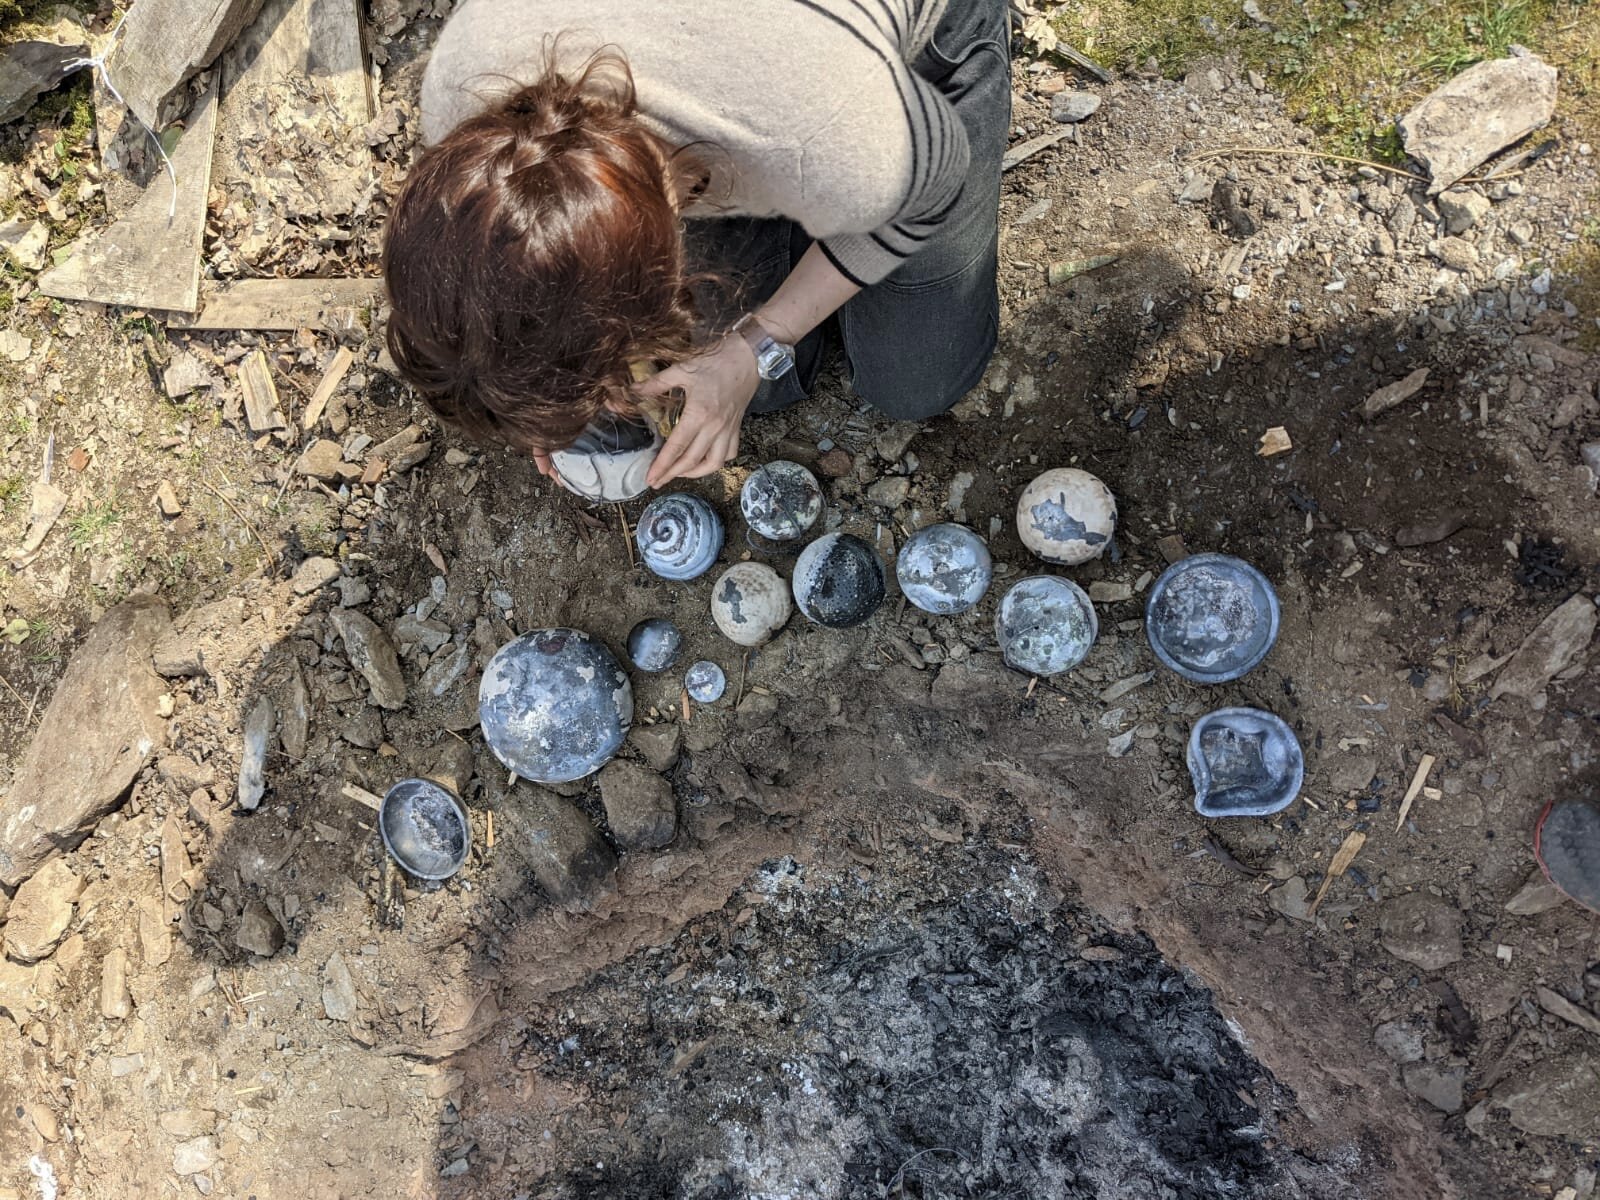
Below are some images of the pit firing process used to create the colours you can see in the photos above.
1) Step one is to make and bisque fire the work, it is possible to raw fire but increases the chances of breakages.
2) I used a slip called terra sigillata to create a smooth pale surface that would be a good canvas for the colours created in the fire. This is ideally painted onto bone dry work before the bisque firing. After it’s fired there’s the option to twist copper wire doing the work.
3) The next step is to collect and dry lots of different combustibles. I used orange peel, banana peel, onion skins, seaweed, tea, eggshells.. basically dry your compost!
4) Digging the pit and doing a pre firing to dry it out.
5) For the firing I lined the bottom of the pit with sawdust then placed the work in and added all the colorant combustibles around them. As well as the dried compost I added copper carbonate, steel wool, copper wire, sheep’s wool and hair.
6) Once that’s all carefully placed you can start to build the fire, it’s a delicate job cause you don’t want to build it in such a way that a big log will fall on your work! I used newspaper, cardboard, dry brambles, driftwood, softwood and hardwood. Once it’s built you can light the fire!
7) Water is the enemy so everything must be as dry as possible and ideally the fire keeps burning as hot as possible for a couple of hours. This takes a lot of wood!!
8) Once the fire is down to embers it needs to be covered with tin sheets till it’s cooled, I waited 24hrs but some people say to wait 3 days… all depends if you can contain your excitement!
9) Once it’s cooled you can take the pieces from the ashes and clean them up either just with cloths or with water too. You can also wax them at this stage for extra shine!


